User Tools
Sidebar
Create Backup Set
1. In the CloudBacko Pro main interface, click Backup Sets.
2. Create a VMware VM backup set by clicking the “+” icon next to Add new backup set.
3. Enter a Name for your backup set and select VMware Backup as the Backup set type.
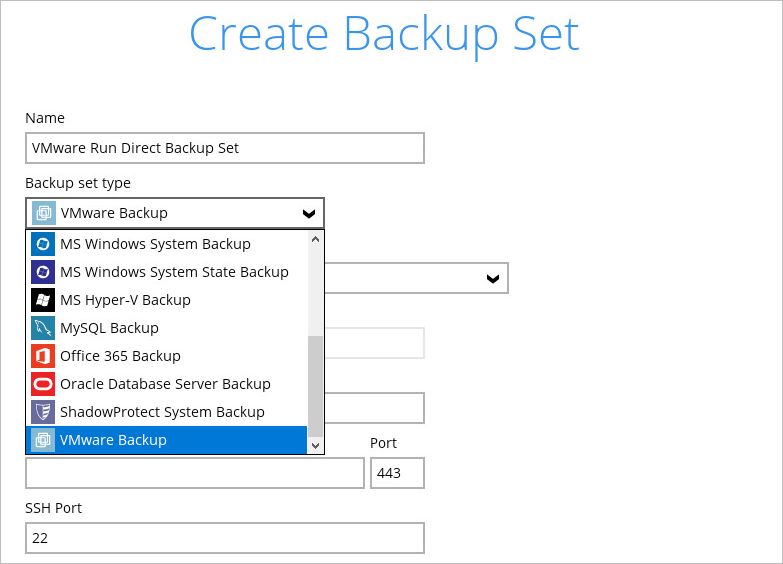
4. Select the Version of the corresponding host:
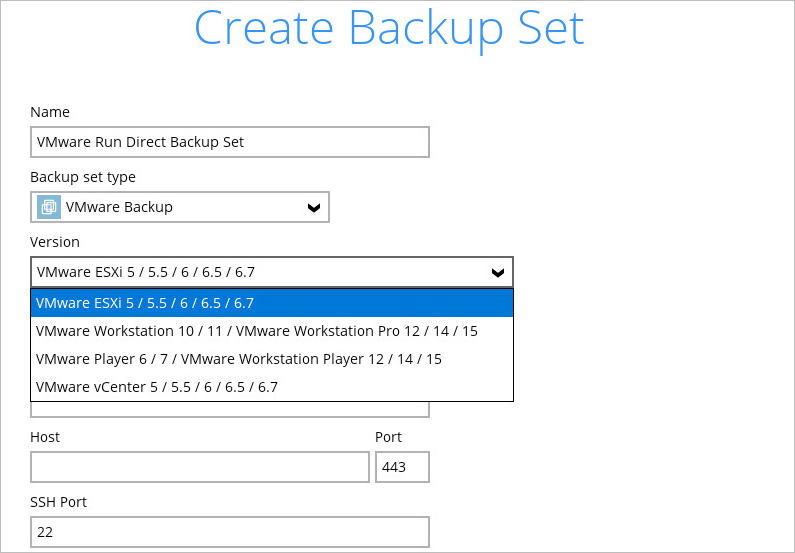
- Select VMware ESXi 5 / 5.5 / 6 / 6.5 / 6.7 for a VMware ESXi backup set
- OR-
- Select VMware vCenter 5 / 5.5 / 6 / 6.5 / 6.7 for a VMware vCenter backup set
5. Enter the VMware host and access information. For a VMware ESXi backup set, enter the Password of the root account, Host, Port and SSH Port information of the ESXi host.

For a VMware vCenter backup set, enter the Username and Password of the administrator account, Host, and Port information of the vCenter server.
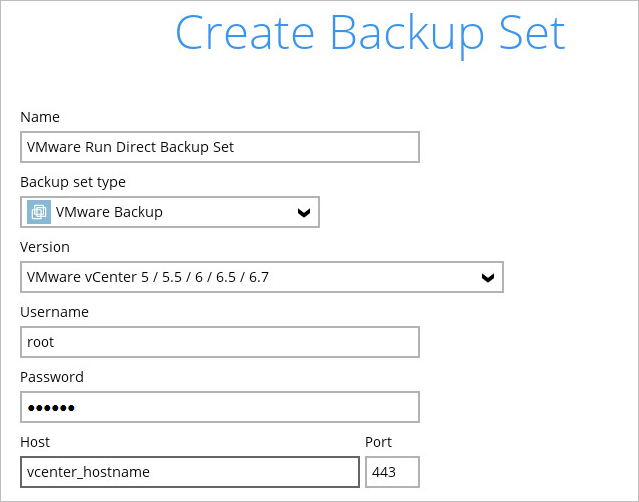
Click Next to proceed when you have finished entering all necessary information.
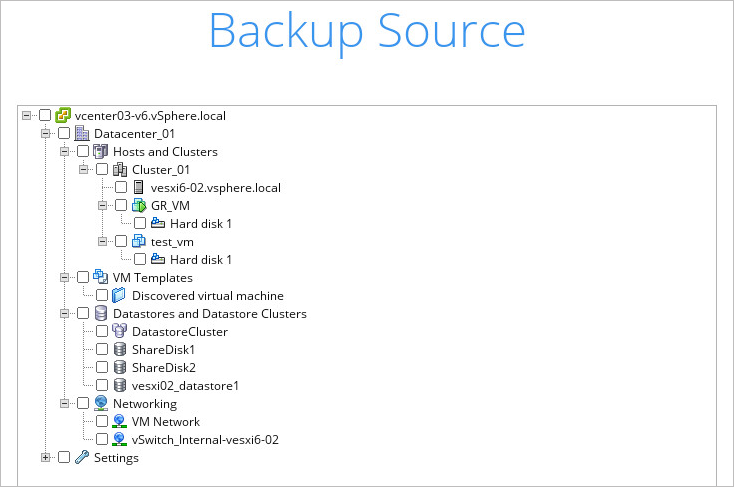
6. For VMware ESXi backup set, select the settings, virtual machines or individual virtual disks that you would like to backup.

For VMware vCenter backup set, select the settings, virtual machines or individual virtual disks that you would like to backup.
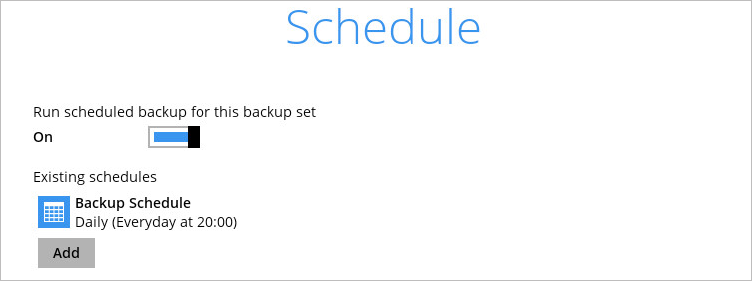
7. In the Schedule menu, configure a backup schedule for backup job to run automatically at your specified time interval. By default, this feature is turned on with a predefined scheduled backup to run at 20:00 daily. Click Add to add a new schedule if necessary.
If you will configure a scheduled backup, define the backup schedule details in the New Backup Schedule section as shown below. Click OK when you have finsihed confguring the backup schedule.
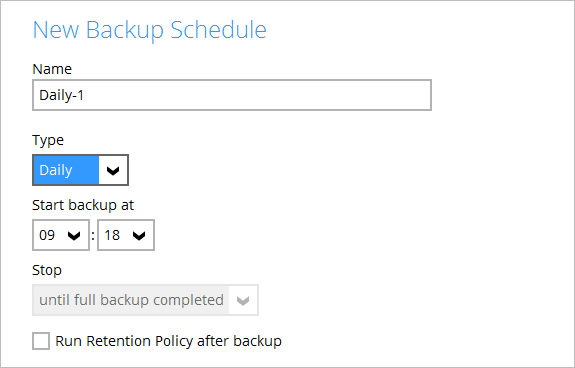
Click Next to proceed when you are done with the settings.
8. In the Destination menu, select the appropriate option from the Backup mode dropdown menu.
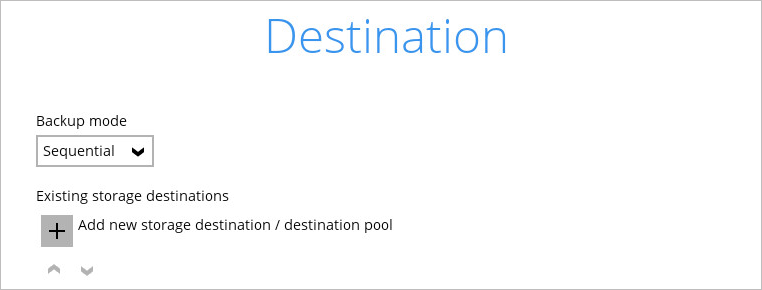
Select the appropriate option from the Backup mode dropdown menu.
- Sequential (default value) – run backup jobs to each backup destination one by one
- Concurrent – run backup jobs to all backup destinations at the same time
To select a backup destination for the backup data storage, click the “+” icon next to Add new storage destination / destination pool.
9. In the New Storage Destination / Destination Pool menu, select the Destination storage.
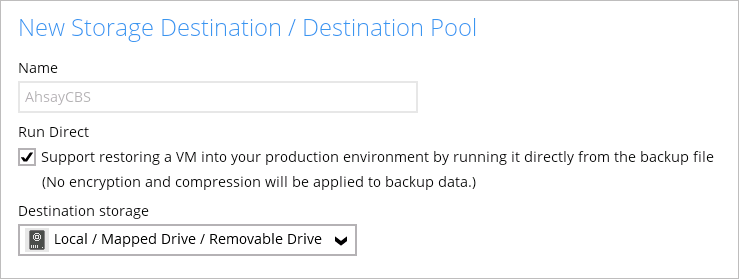
Run Direct:
1. To utilize the Run Direct feature for your VMs recovery, enable the Run Direct option. The Run Direct option is only available for single storage destination, and is enabled by default.
2. Further to the above settings, there are also other requirements for the Run Direct feature, refer to the chapter on Run Direct Requirement for more details.
If you have chosen the Local/Mapped Drive/Removable Drive option, you can change the Name then click Change to browse to a directory path where backup data will be stored. The path must be accessible to the ESXi host.
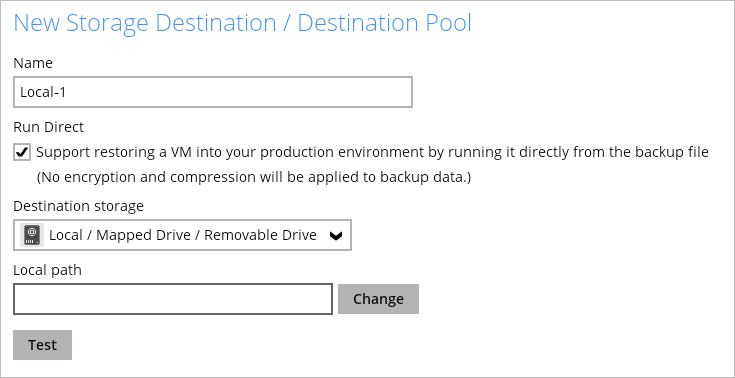
Click OK to proceed when you are done with the settings.
10. You can add multiple storage destination if you wish. The backup data will be uploaded to all the destinations you have selected in this menu in the order you added them. Press the Up / Down arrow icon to alter the order. Click Next to proceed when you are done with the selection.
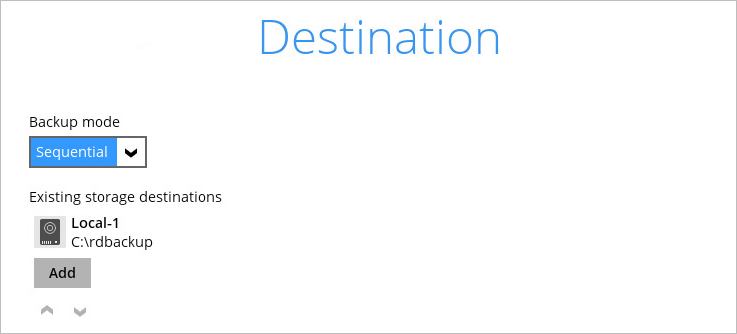
Multiple backup destinations can be configured for a single backup set (e.g. one destination with Run Direct enabled, and another with Run Direct disabled).
11. If you wish to enable the granular restore feature, make sure you turn on the Granular Restore switch in this menu. Click Next to proceed.
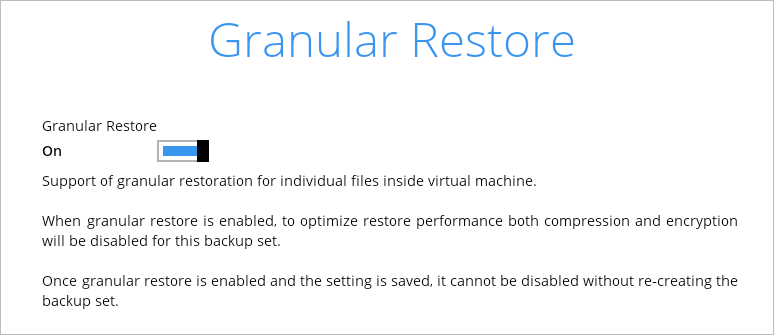
Once the Granular Restore feature is enabled and the backup set is saved, it is NOT possible to disable it afterwards, and vice versa. If you wish to change the Granular Restore settings, a new backup set will have to be created.
It is possible to enable both Granular Restore and Run Direct restore on the same backup set. However, AhsayOBM will only allow either Granular Restore or Run Direct restore to run, but not both to run concurrently.
Granular Restore requires an additional OpenDirect / Granular restore add-on module license to work. Contact your backup service provider for further details.
12.
If you have enabled the Granular restore or Run Direct restore feature, backup data will not be compressed and encrypted to optimize the restore performance, therefore you can skip to step 14.
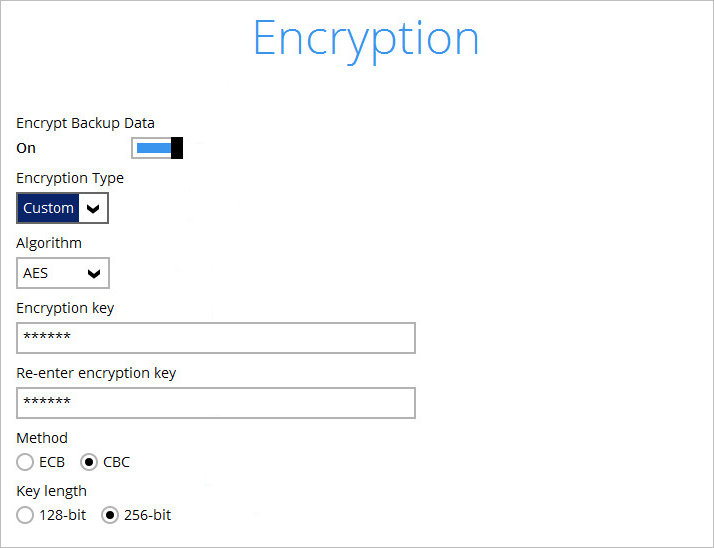
In the Encryption window, the default Encrypt Backup Data option is enabled with an encryption key preset by the system which provides the most secure protection.

You can choose from one of the following 2 Encryption Type options:
- Default – an encryption key with 44 alpha numeric characters will be randomly generated by the system
Click Next when you are done setting.
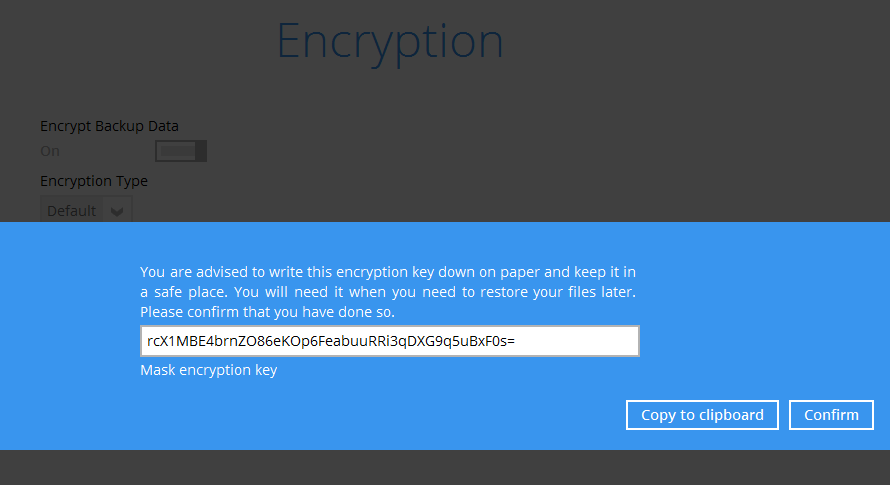
13. If you have enabled the Encryption Key feature in the previous step, the following pop-up window shows, no matter which encryption type you have selected.
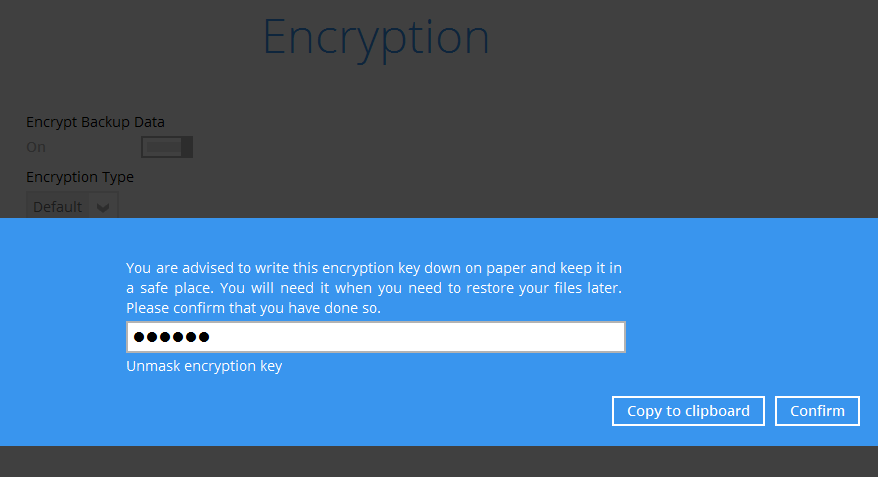
The pop-up window has the following three options to choose from:
- Copy to clipboard – Click to copy the encryption key, then you can paste it in another location of your choice.
- Confirm – Click to exit this pop-up window and proceed to the next step.
14. The following screen is displayed when the new VMware VM backup set is created successfully.
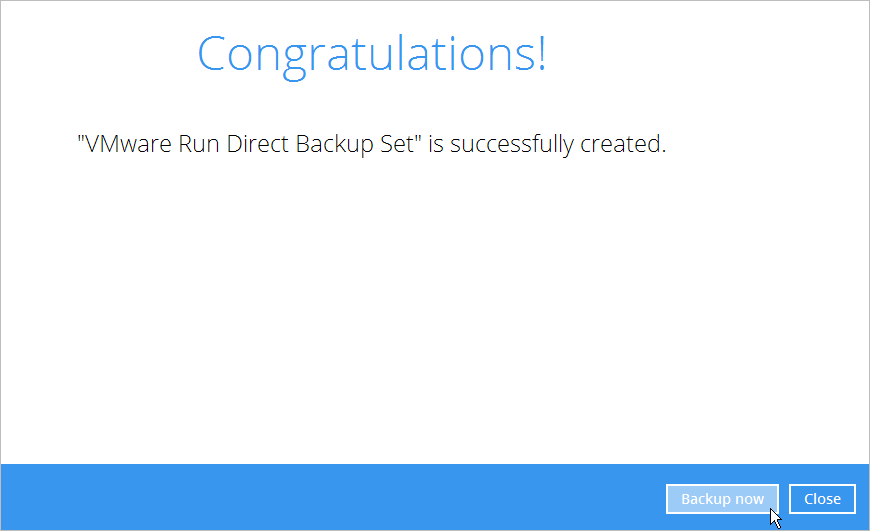
15. Click the Backup now button if you wish to run a backup for this backup set now.

