User Tools
Sidebar
Granular Restore Procedures
1. Click the Restore icon on the main interface of CloudBacko Pro.
2. Select the backup set that you would like to restore the individual files from.
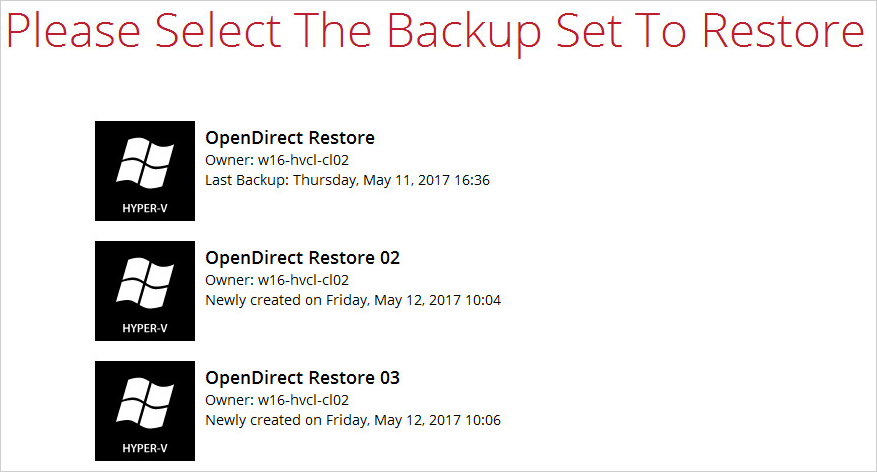
3. Select the backup destination that contains the guest VM that you would like to restore.

4. Select to the Restore individual files in virtual machine (Granular Restore) option.
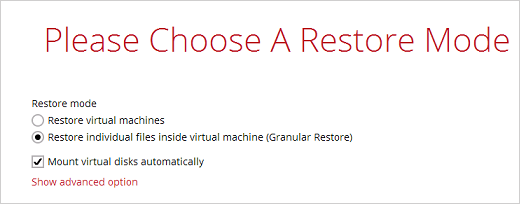
The Mount virtual disks automatically option is selected by default. If the guest VM contains a multiple virtual disks and you only require the restore of files from a single or certain virtual disk(s), then unselect this option to speed up the virtual disk mounting. Otherwise, granular restore will connect and mount all available virtual disks and this process could take longer.
You may select the Read timeout limit by clicking Show advanced option.
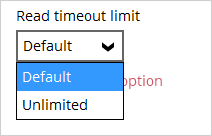
This selection defines the duration when the granular restore session will be disconnected if there is no response from the mounted virtual machine.
- Default – This setting should be suitable for guest VMs located on a local, removable, or network drive. The time out value is 15 seconds.
- Unlimited – the connection will not be time out when this is selected. This selection is recommended when:
- Backup destination is a cloud stroage.
- A large guest VM or guest VM with large incremental delta chain.
If in doubt or unsure about the guest VM size or network stability, it is recommended to use Unlimited.
Click Next to proceed when you are done with the selection.
5. Select the virtual machine that you would like to perform Granular Restore for, then click Next to proceed.
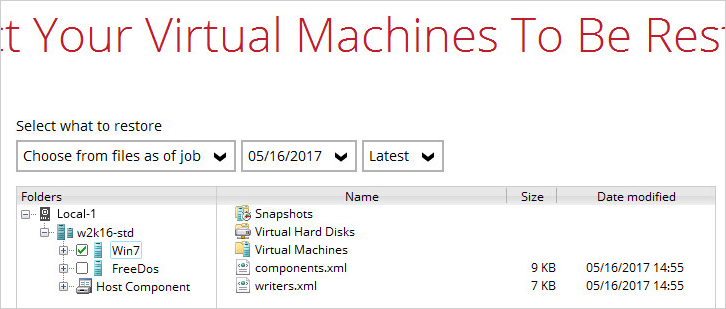 }}
}}
6. Select a temporary directory for storing restore files, then click Restore to start the granular restore.

7. The following screens show when you perform granular restore for a backup set on a machine for the first time only. Make sure you click Yes to confirm mounting t of the virtual disk on this machine. Clicking No will exit the restore process.

8. When the virtual disk(s) are in the process of being prepared for mounting on the CloudBacko Pro machine, you will see the following screen.

Please wait as the process could take some time depending on the size of the virtual disk, network bandwidth, and storage location.
If the Mount virtual disks automatically option is unselected then click on the disk icon to mount the virtual disk you wish to restore files from.
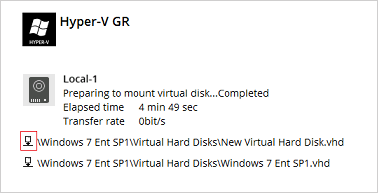
Otherwise, the virtual disks will be automatically mounted.
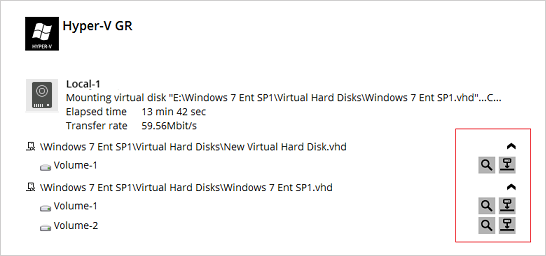
There are two options to restore individual files from here.
Option 1: Restore Using CloudBacko Pro File Explorer
This method allows you to use the file explorer in CloudBacko Pro to browse through the files from the mounted virtual disk and select files you wish to restore.
i. Click  to browse the files in the mounted virtual disk. If there are multiple volumes in the guest VM, you can only select one volume to restore individual files at a time.
You will then see a file explorer menu as shown below. Select the file(s) you wish to restore, then click Next to proceed.
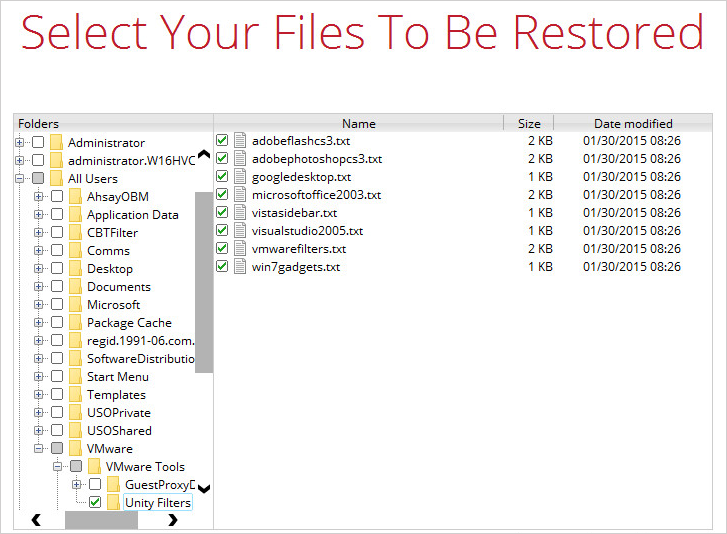
Some system folder(s) / file(s) generated (e.g. System Volume Information) are only shown in the CloudBacko Pro File Explorer and will be not restored, therefore, those folder(s) / file(s) will not be shown in the mapped drive shown in step iv below.
ii. Select a path where you wish the files to be restored to, then click Restore.

iii. The following screen shows when the selected files have been restored to the defined destination.
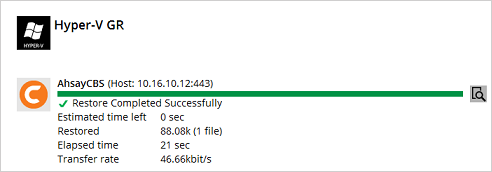
iv. Open the defined restore path and you should be able to see the files being restored there.

Option 2: Restore Using Windows File Explorer
This method allows you to browse through the files from the mounted virtual disk through the file explorer on the machine where you have CloudBacko Pro installed on.
1. Granular restore of Hyper-V backup sets performed using Windows File Explorer.
2. Will not generate restore log on CloudBacko Pro.
i. Click  and then you will be prompted to select a driver letter where you wish the mounted image to be mapped on your machine, click OK when you have finished selection.
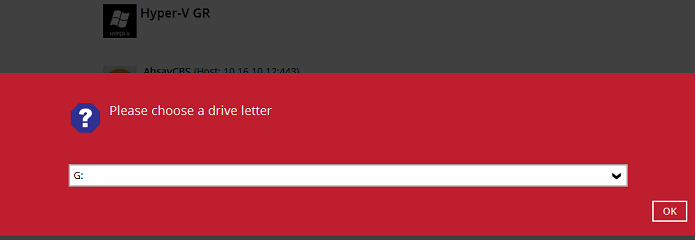
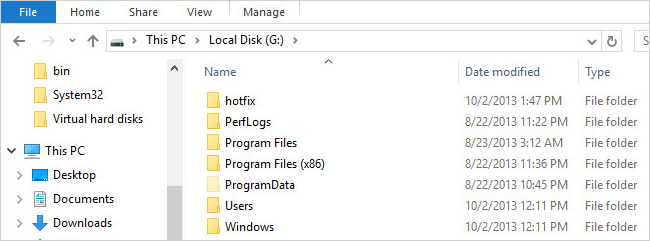
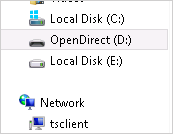
ii. The selected drive letter will be mapped and prompted in the Windows Files Explorer with the files you wish to restore shown.
iii. You can now click on the files to view them directly from here, which will be in read-only mode, or copy them to your local machine.
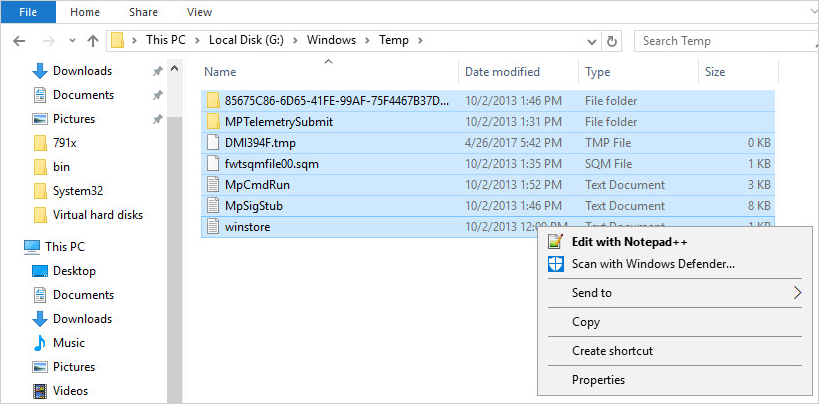
iv. The mounted drive letter cannot be ejected from the Windows File Explorer, it will only be closed when you exit CloudBacko Pro.
When you have finished restoring the necessary files, you can go back to CloudBacko Pro and click on Cancel.
Then click on Stop the granular restore and unmount the virtual disk(s).
Due to the limitation of the virtual file system library, the mounted virtual disks will only be unmounted from your machine when you exit CloudBacko Pro.
