Sidebar
This is an old revision of the document!
Restoring Backup for Microsoft SQL Server
Blow are the steps for restoring backup for Microsoft SQL Server:
1. In the CloudBacko Pro main interface, click the Restore icon.

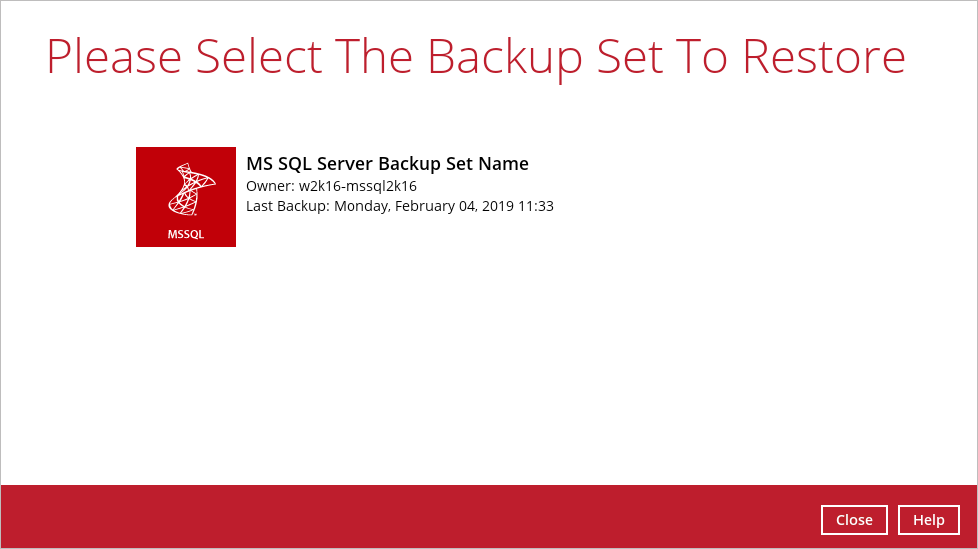
2. Select the backup set that you would like to restore.
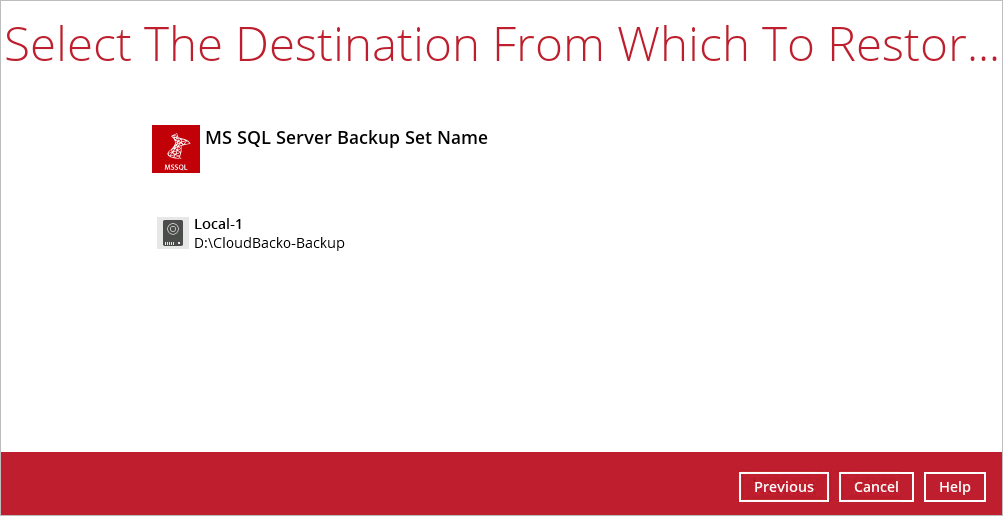
3. Select the backup destination that you would like to restore data from.
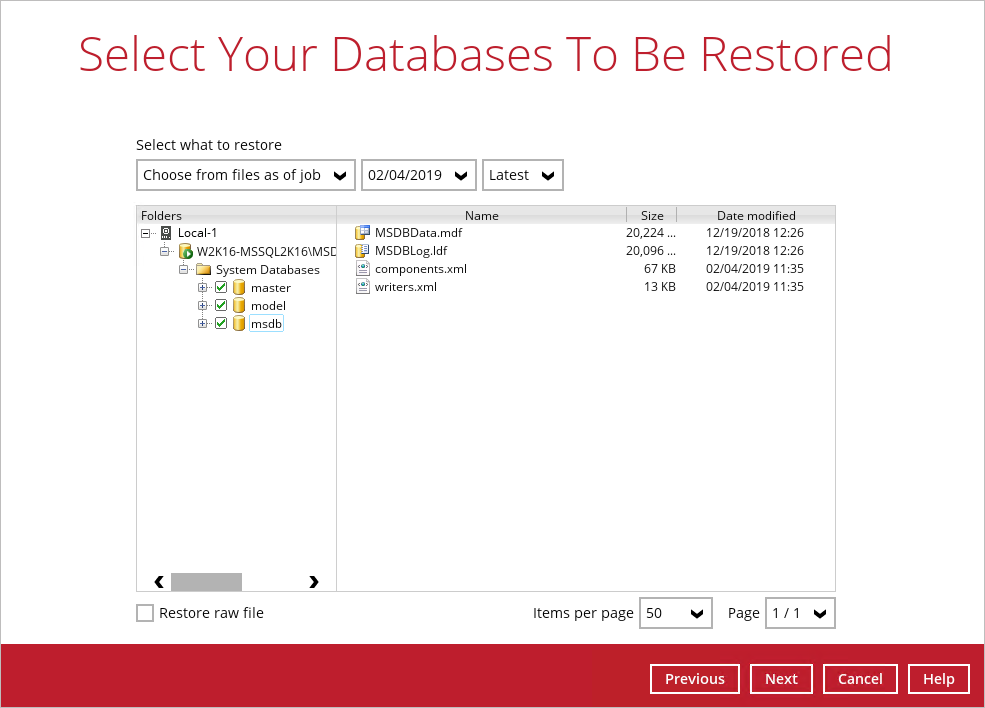
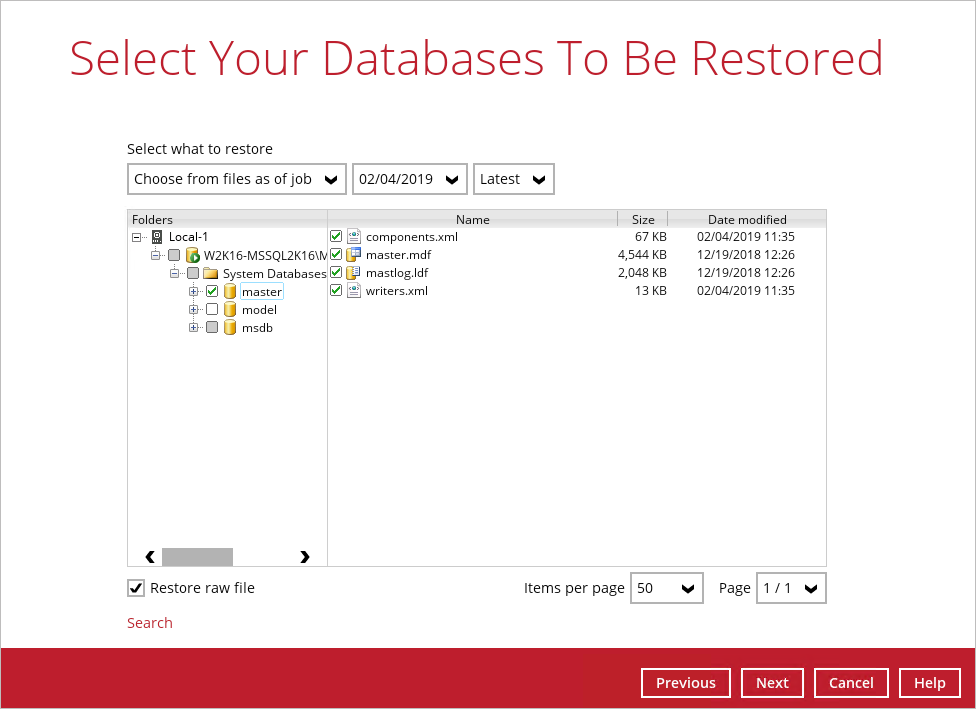
4. Select the database(s) or raw file(s) you would like to restore. You can also choose to restore backed up database or raw file from a specific backup job of your choice using the Select what to restore drop-down menu at the top. Click Next to proceed when you are done with the selection.
Limitations:
- If you would like to restore database with the Alternate location option, you can only choose to restore one database at a time.
- If you would like to restore database to an alternate SQL server with the Restore raw file option, make sure you have checked the Restore raw file option.
5. Select the destination to restore. Refer to 5a or 5b below for steps to restore the database automatically (Restore database to Original/Alternate location) or manually (Restore raw file).
5a.
Select to restore the database to its Original SQL server, or to an Alternate SQL server.
- Restore to Alternate SQL server (only for restoring raw file)
i. Select the Alternate location option, then press Next.

If you would like to modify the In-File Delta type (for Full backup set type only), Destinations and Retention Policy settings, click Show advanced option.
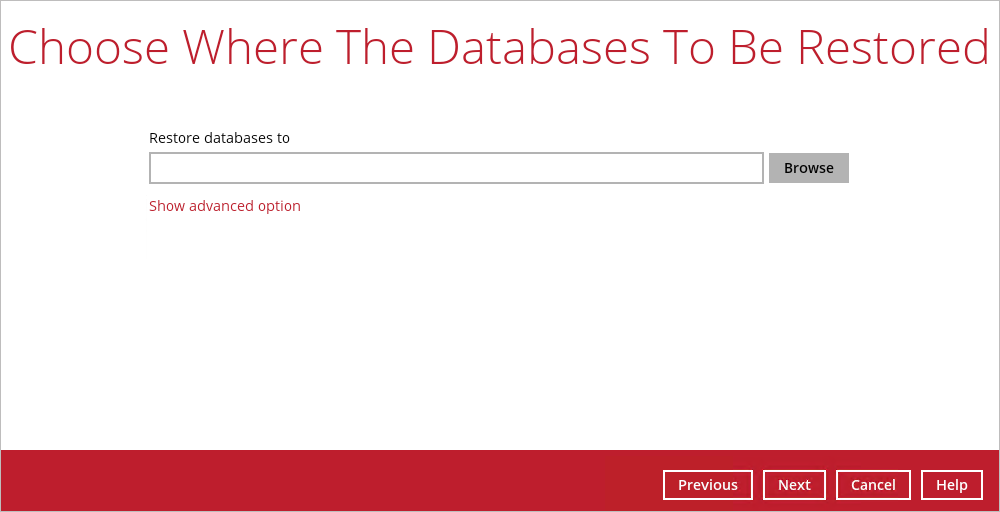
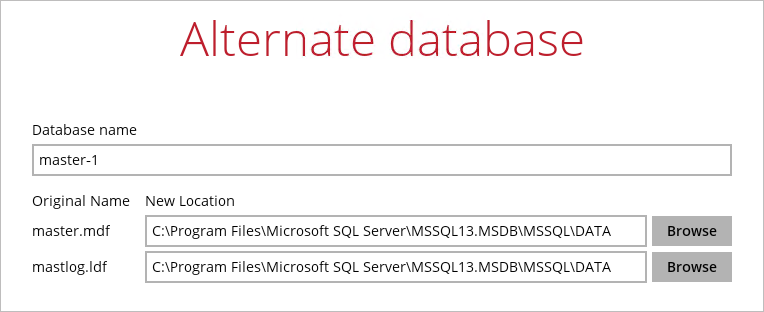
ii. Click Browse to select the locations where you would like to restore the database and log files to. Name the new database, then.

iii. Click Next to proceed when you are done with the settings.
5b.
i. If you have chosen to restore raw file, choose the location path where you would like the raw file(s) to be restored to. Click Next to proceed.
If you would like to modify the In-File Delta type (for Full backup set type only), Destinations and Retention Policy settings, click Show advanced option.
ii. Restore the database manually with the restored database file via the SQL Server Management Studio. Refer to the MS KB article below for instructions. https://technet.microsoft.com/en-us/library/ms177429%28v=sql.110%29.aspx
6. Select the temporary directory for storing temporary files, such as delta files when they are being merged, click Restore to start the restoration.
7. The following screen with the text Restore Completed Successfully shows when the restoration is completed.
