
Sidebar
public:module:windows_system:recover_server
This is an old revision of the document!
Recover Your Server
After restoring the backed up Windows System image from the backup destination, you can use the restored data to recover your server.
For server platforms such as Server 2008 / 2008 R2 / 2012 / 2012 R2, you can recover individual files, folders, volumes, application, application data, operating system, or full-system (bare-metal) with the following tools:
| Tool | What you can recover |
|---|---|
| Recovery wizard (in Windows Server Backup) | Files, folders, volumes, application, and application data. |
| Windows setup disc / Windows Recovery Environment (Windows RE) | Operating system (critical volume), and full server recovery (all volumes). |
You can also perform the above tasks using wbadmin command. For the syntax of the command, refer to the following: http://go.microsoft.com/fwlink/?LinkId=140216
To determine what can be recovered from your restored system image, enter the following command in an elevated command prompt:
wbadmin get versions
[-backupTarget:{<BackupTargetLocation> | <NetworkSharePath>}]
Example (system image restored to G: volume):
C:\Users\Administrator>wbadmin get versions -backupTarget:g:
wbadmin 1.0 - Backup command-line tool
(C) Copyright 2012 Microsoft Corporation. All rights reserved.

Backup time: 1/29/2019 10:29 AM
Backup target: 1394/USB Disk labeled Temp1(E:)
Version identifier: 01/29/2019-02:29
Can recover: Volume(s), File(s), Application(s), Bare Metal Recovery, System State
Snapshot ID: {f8cf57da-0c9d-453c-adbb-5f9a976c75c2}
For non-server platforms such as Windows 7 / 8 / 8.1 / 10, you can recover the full-system (bare-metal) with the following tools:
| Tool | What you can recover |
|---|---|
| Advanced startup option (in safe mode) | Full system recovery. |
| Advanced startup option (Windows installation media) | Full system recovery. |
You can also perform the above tasks using wbadmin command. For the syntax of the command, refer to the following: http://go.microsoft.com/fwlink/?LinkId=140216
For instructions specific to recovering Active Directory Domain Services, refer to the following: http://go.microsoft.com/fwlink/?LinkId=143754.
1). Recover Files and Folders
To recover files and folders using the Recovery Wizard in the Windows Server Backup user interface.
1. Open Windows Server Backup from Administrative Tools or Server Manager.

2. In the Actions panel under Windows Server Backup, click Recover…

3. On the Getting Started page, select A backup stored on another location, then click Next.

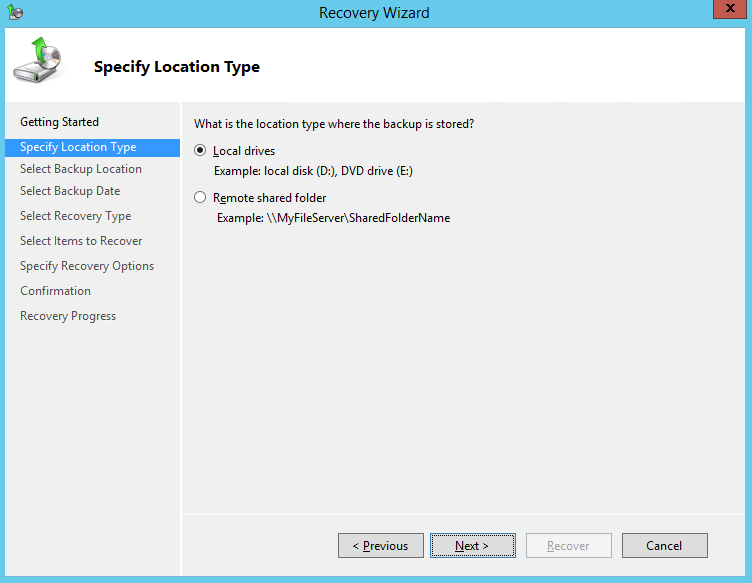
4. On the Specify Location Type page, select
- Click Local drives, if the system image was copied to a local volume on the server.
- Click Remote shared folder, if the system image was copied to a network path accessible to this server.

5. On the Select Backup Location page, select the volume that contains the system image file.

Note: Assuming that the WindowsImageBackup folder was copied to the following F:\ WindowsImageBackup
6. On the Select Server page, select the server whose data you want to recover.

7. On the Select Backup Date page, select the point in time of the backup you want to restore from.

8. On the Select Recovery Type page, click Files and folders.

9. On the Select Items to Recover page, under Available items, expand the list until the folder you want is visible.
Click a folder to display the contents in the adjacent pane, click each item that you want to restore.

10. On the Specify Recovery Options page, under Recovery destination, select Alternate location.
Type the path to the location or click Browse to select it.

Modify the When this wizard finds items in the backup that are already in the recovery destination setting, and the Security settings if necessary.
Click Next to proceed.
11. On the Confirmation page, review the details, and then click Recover to restore the specified items.

12. On the Recovery progress page, the status and result of the recovery operation is displayed.


public/module/windows_system/recover_server.1568625019.txt.gz · Last modified: 2019/09/16 17:10 by ronnie.chan