
Sidebar
public:module:microsoft_exchange_server_database:restore_dag
Table of Contents
Restore Exchange DAG
Below are the steps for restoring data into an Exchange DAG.
Pre-restoration Requirements
Refer to the following instructions to restore your Exchange database in Database Availability Group (DAG).
The database restoration is required to restore on the active database only. You can identify the Exchange server with the active database from the Exchange Management Shell.
Type the following command in the Exchange Management Shell.
Get-MailboxDatabase | ft name, server
It will show which Exchange server is hosting the active mailbox database, i.e. Mailbox Database 01 and 03 are hosted on EX1, while Mailbox Database 02 and 04 are hosted on EX2.
[PS] C:\>Get-MailboxDatabase | ft name, server
Name                   Server
----                   ----
Mailbox Database 02    EX2
Mailbox Database 01    EX1
Mailbox Database 03    EX1
Mailbox Database 04    EX2
When you can identify which Exchange server is hosting the active database, you can logon to that Exchange server to restore the database.
Restore Exchange Database to the Exchange Server with the active database
1. In the CloudBacko Pro main interface, click Restore.

2. Select the backup set that you would like to restore data from.

3. Select the backup destination that contains the files or folders that you would like to restore.

4. Click to expand the menu tree to select which Information Store to restore. You can also select individual database file to restore by clicking the Restore raw file checkbox at the left bottom corner.
In addition, you can also choose to restore backup item(s) from a specific backup job using the drop-down menu at the top. Click Next to proceed when you are done with the settings.

5. Select to restore the files to their Original location, or to an Alternate location.
- Restore to Original location - Select the Original location option, then press Next to proceed.
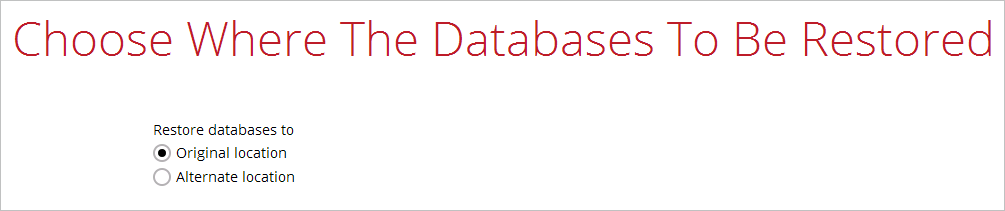
- Restore to Alternate location

i. Select the Alternate location option, then press Next.

ii. Select the locations where you would like to restore the database to. Name the new mailbox store, then click Browse to modify the database, log and checksum file location if necessary. Click Next to proceed.

6. Select the temporary directory for storing temporary files, such as delta files when they are being merged, then click Restore to start the restoration.
7. The following screen with the text Restore Completed Successfully shows when the restoration is completed.

For details regarding verifying the restoration activities log between CloudBacko Pro and the Exchange Server, refer to Appendix B Restore Activities Log.
public/module/microsoft_exchange_server_database/restore_dag.txt · Last modified: 2019/09/19 16:55 by ronnie.chan