
Sidebar
public:module:microsoft_exchange_server_database:backup
This is an old revision of the document!
Backup Process
Create Backup Set
1. Click the Backup Sets icon on the main interface of CloudBacko Pro.

2. Create a new backup set by clicking the “+” icon next to Add new backup set.
3. Select the Backup set type as MS Exchange Server Backup. The system will automatically detect and select the Exchange Server version, make sure the version selected is correct. Name your new backup set and then click Next to proceed.

4. In the Backup Source menu, select the Information Store for backup. Click Next to proceed.

5. In the Schedule menu, you can configure a backup schedule for backup job to run automatically at your specified time interval. Click Add to add a new schedule, then click Next to proceed when you are done with the settings.

By default, a database backup scheduled for every Friday at 22:00 and a log backup scheduled daily (except Friday) at 22:00 are created automatically.
6. In the Destination menu, select a backup destination where the backup data will be stored. Click the “+” icon next to Add new storage destination / destination pool.

7. Select the destination type and destination storage, then click OK to proceed.

8. When you are done with settings, click Next on the Destination menu page to proceed.

9. In the Encryption window, the default Encrypt Backup Data option is enabled with an encryption key preset by the system which provides the most secure protection.

You can choose from one of the following three Encryption Type options:
- Default – an encryption key with 44 alpha numeric characters will be randomly generated by the system
- Custom – you can customize your encryption key, where you can set your own algorithm, encryption key, method and key length.
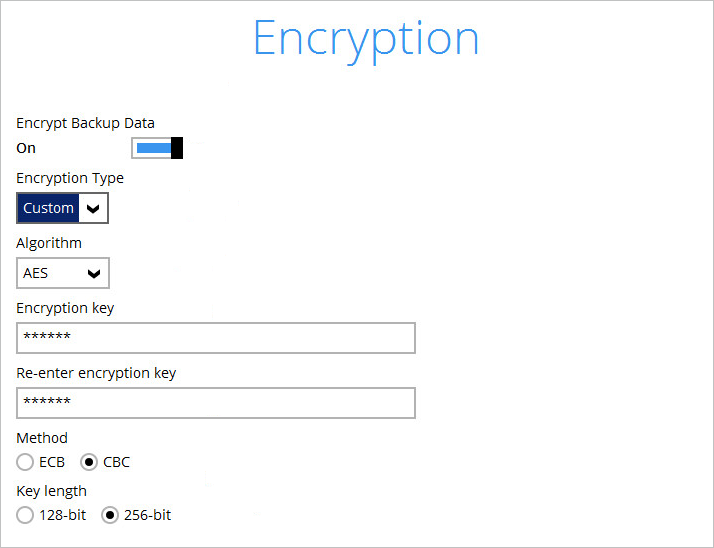
Click Next when you are done setting.

10. If you have enabled the Encryption Key feature in the previous step, the following pop-up window shows, no matter which encryption type you have selected.

The pop-up window has the following three options to choose from:
- Unmask encryption key – The encryption key is masked by default. Click this option to show the encryption key.
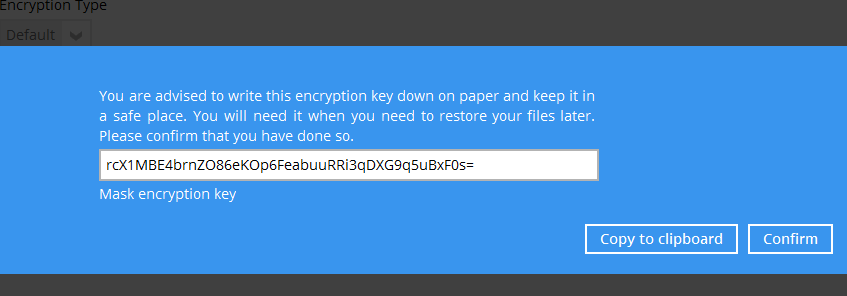 * Copy to clipboard – Click to copy the encryption key, then you can paste it in another location of your choice.
* Confirm – Click to exit this pop-up window and proceed to the next step
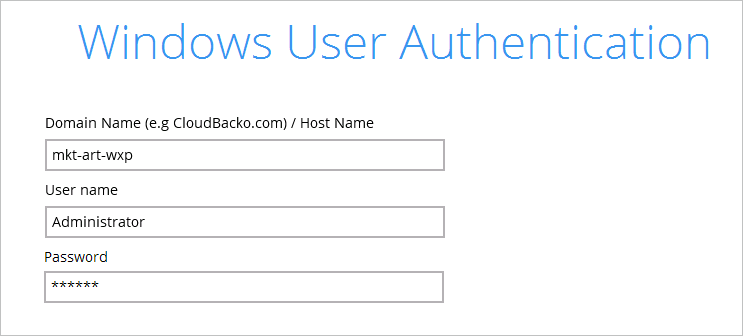
11. Enter the Windows login credentials for user authentication. Click Next to proceed.
* Copy to clipboard – Click to copy the encryption key, then you can paste it in another location of your choice.
* Confirm – Click to exit this pop-up window and proceed to the next step
11. Enter the Windows login credentials for user authentication. Click Next to proceed.
 12. The following screen shows when the new backup set is created successfully.
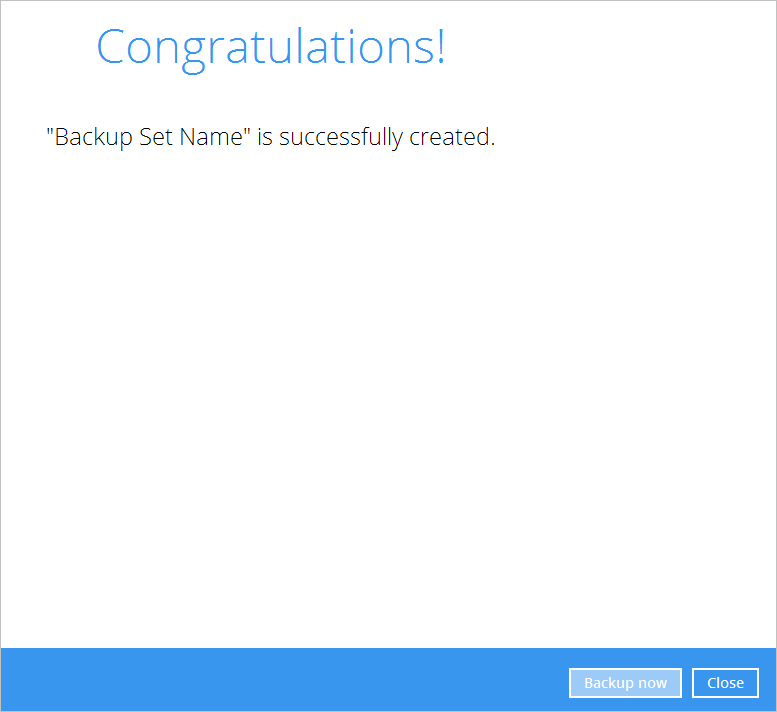 13. Scheduled backups will run automatically according to the defined schedules. You can also click Backup now to start a backup immediately, or you can run a backup job later.


public/module/microsoft_exchange_server_database/backup.1566797386.txt.gz · Last modified: 2019/08/26 13:29 by ronnie.chan