User Tools
Sidebar
Table of Contents
Managing filter for Windows OS
1. Create a backup set with filter
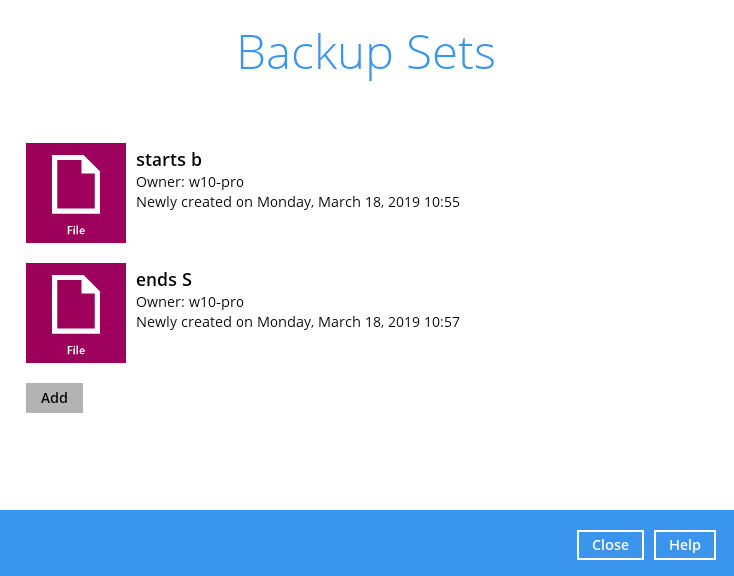
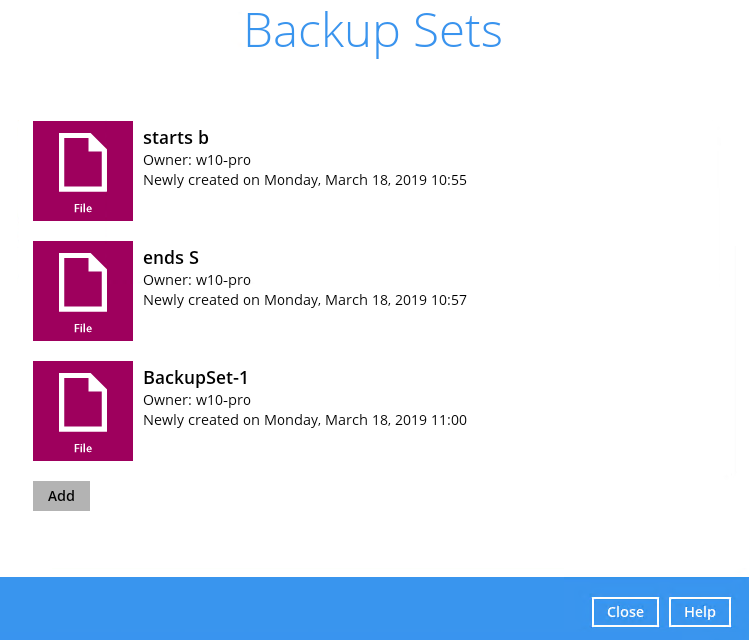
1.1. Go to Backup Sets.
1.2. Click the Add button.
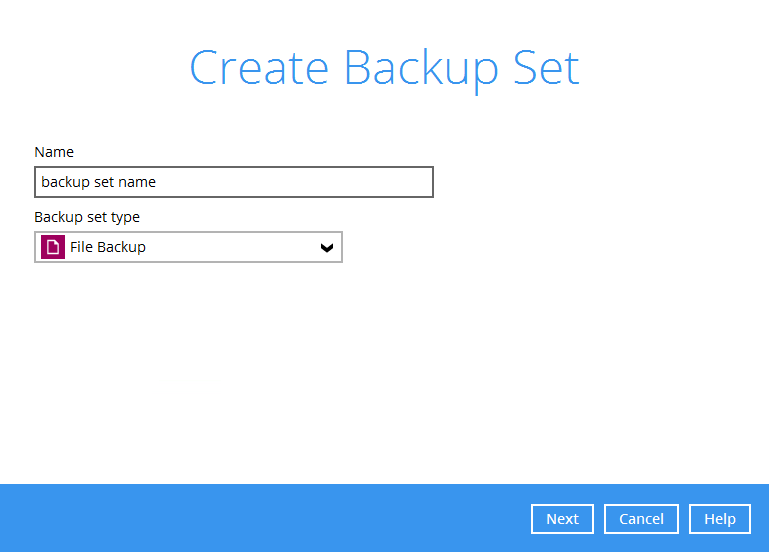
1.3. Specify a backup set name and select the type. Click Next.
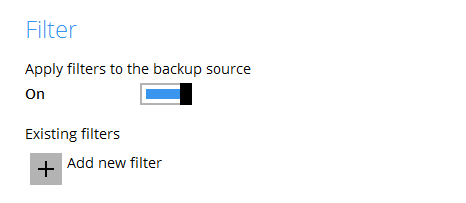
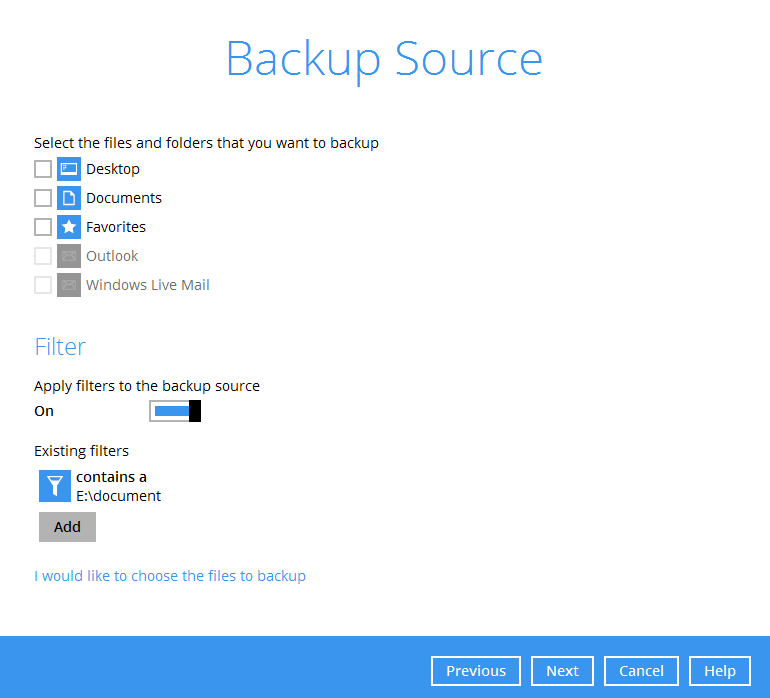
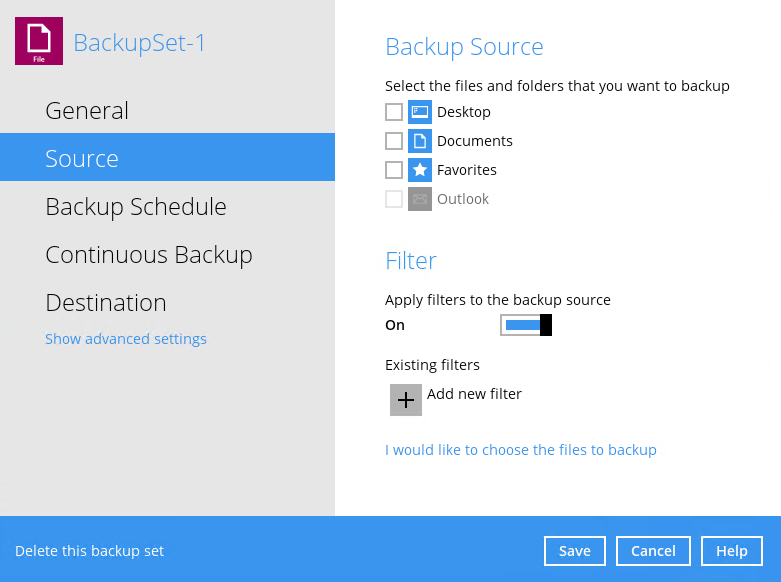
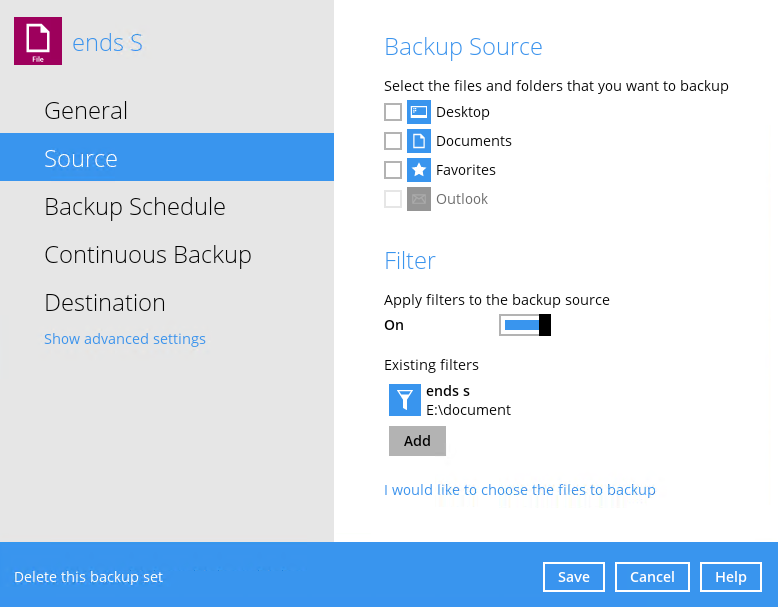
1.4. In the Filter part, slide the lever to the right to add a filter. Click the Add new filter button.
1.5. Enter the name for your filter.
1.6. Choose whether the pattern you added will be included or excluded for the backup.
- If Include them is selected, you can check the box beside Exclude all unmatched files/folders.
- If Exclude them is selected, you can check the box beside Include all unmatched files/folders.
Note: Please see examples to further understand how the filtering works.
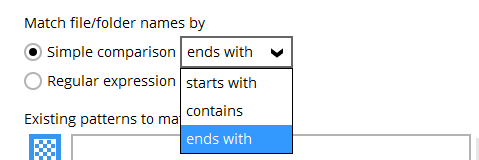
1.7. Choose how the pattern will be compared, if it will be by Simple comparison or Regular expression. For Simple comparison you have 3 choices:
- starts with, files/folders that begins with the pattern will be selected
- contains, files/folders that contains the pattern will be selected
- ends with, files/folders that ends with the pattern will be selected
Note: The filter checks the whole filename including the filename extension. For example, you have a document with filename ‘employees’ so if ends with s is your filter then this file will not be included in the backup since its whole filename is ‘employees.doc’ or ‘employees.docx’ with both files not ending in s but c and x respectively.
1.8. Specify the pattern then click the Add button. For example the letter a. Repeat adding patterns, until all the patterns has been added to this filter.
Note: The pattern is case sensitive only in Regular Expression.
1.9. Choose how the filter will be applied, whether in All hard disk drives or for This folder only. If for this folder only, specify the folder name.
1.10. Select if the filter will be applied to File, Folder or both.
1.11. Click the OK button to save the filter. Repeat Steps 4-10 until all the filters you want to apply are created. Click Next.
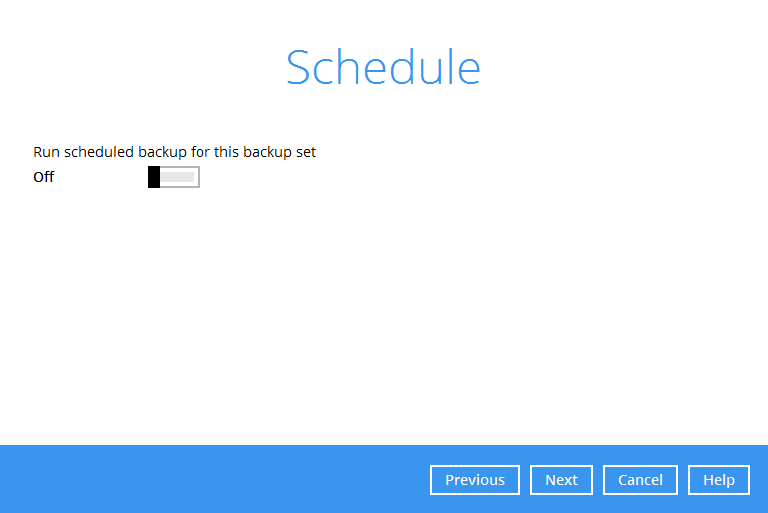
1.12. Slide the lever to the right if you want to create a backup schedule. Click Next.
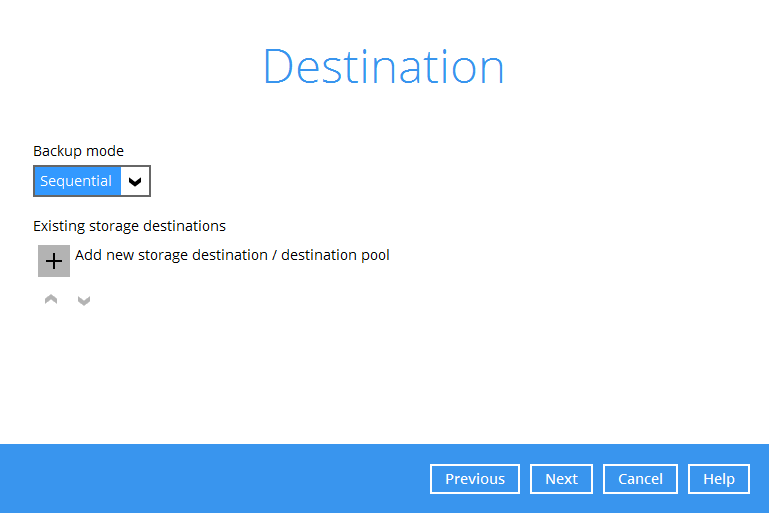
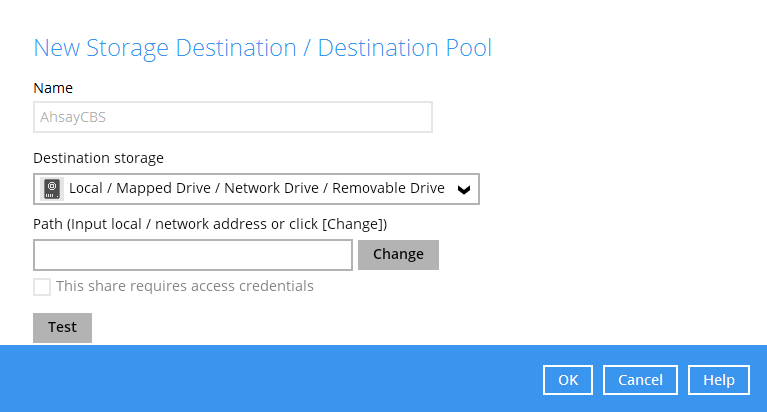
1.13. Select the Backup mode, whether Sequential or Concurrent. By default, Sequential is selected. Add the storage destination, click the Add button.
Select the Destination storage. Click OK. Click Next.
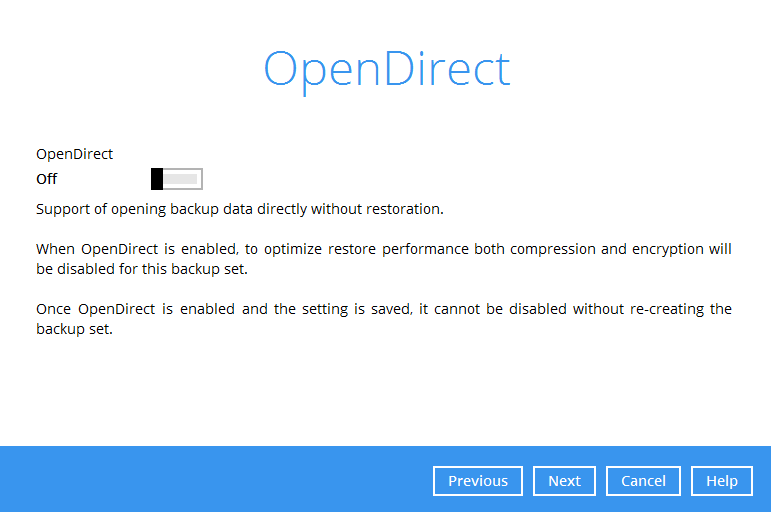
1.14. Slide the lever to the right if you want to enable OpenDirect. By default OpenDirect is turned Off. Click Next.
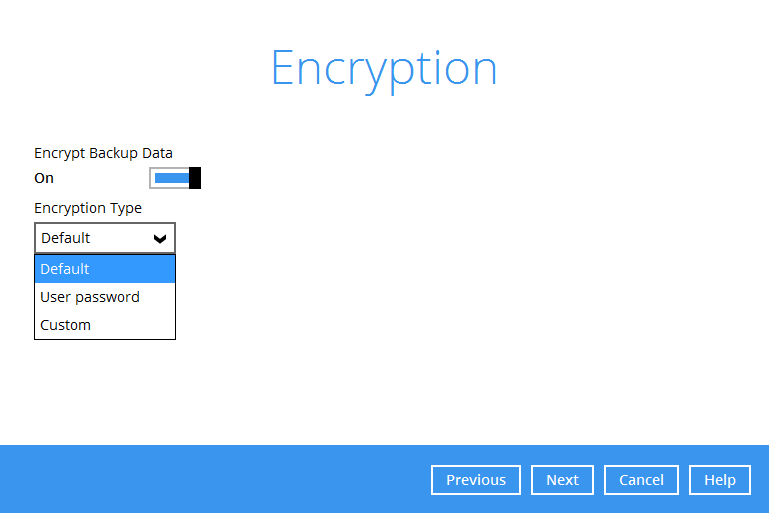
1.15. Select the Encryption Type, whether Default, User password or Custom. By default, ‘Default’ is selected. Click Next.
1.16. You can either Unmask encryption key or Copy to clipboard the encryption key. Click Confirm to continue.
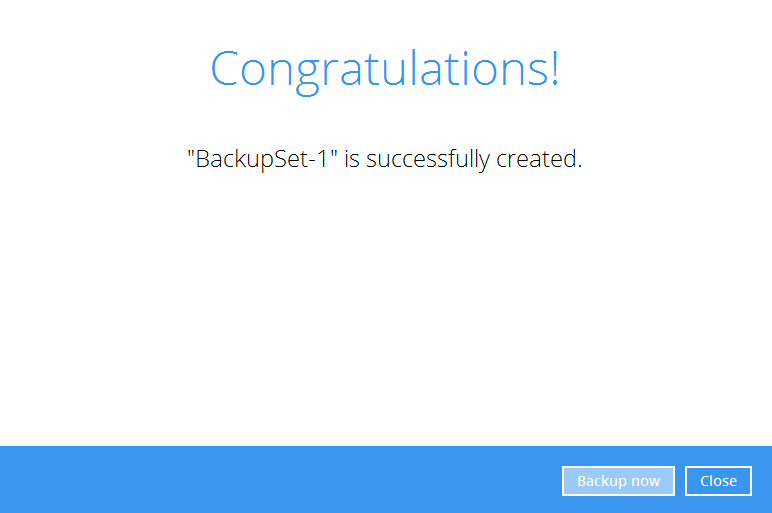
1.17. Click Backup now if you want to run the backup. Or you can click Close.
2. Edit existing backup set to add filter
3. Check if filter is correct
You can check which files will be included in the backup before the actual backup occurs. To check if the filter is correct:
3.1. Go to your backup set then go to Source. Click I would like to choose the files to backup.
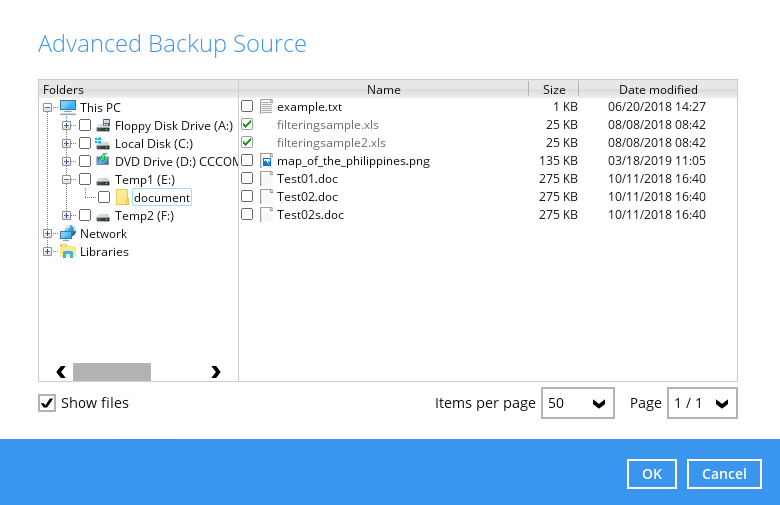
3.2. Click Show files, you can check here if the files that will be included in the backup is correct. Files that matches the filter criteria are greyed out.
Note: Only files not included in the filter may be added for backup. Once filter is applied to a file it cannot be changed. You will see a message like the one below if you try to check/uncheck a filtered file.
4. Filtering in Continuous Backup
Filtering in continuous backup is only supported by CloudBacko Pro on Windows Operating System. For continuous backup you can only specify filters that would exclude files from the backup. After turning on continuous backup, you must run a full backup first. This is to ensure that all the files are backed up. If you do not run a full backup first then only files that were changed or added will be backed up by CloudBacko Pro.
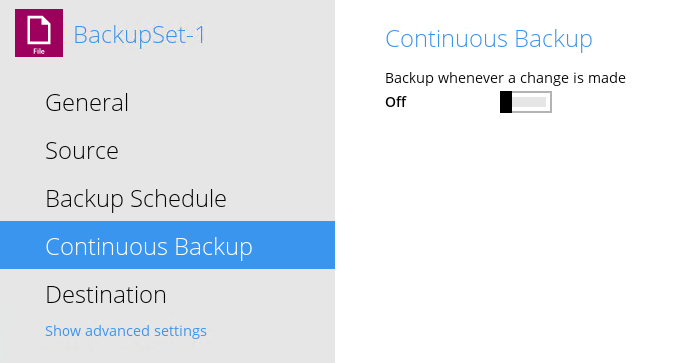
4.1. Choose the backup set that you want to set a continuous backup for.
4.2. Go to Continuous Backup and slide the lever to the right to turn it on.
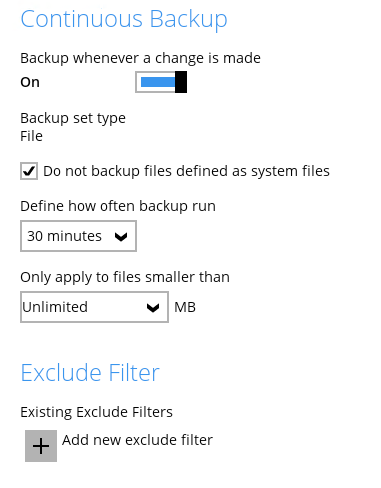
4.3. Check the box if you do not want to backup files defined as system files which is enabled by default. Please refer to Appendix D for a list of system files that will be excluded from the backup. Set how often backup will run in minutes/hours. Also specify the size limit of the file that will be backed up.
4.4. Click the + Add new exclude filter to specify the criteria for the filter.
- Enter the filter name.
- You can match the file/folder names either by Simple comparison or Regular expression (UNIX-style). For simple comparison you can match it by ends with, contains or starts with.
- Enter the pattern that will be used for the filter. If there are more than one pattern, click the Add button to enter another pattern. Keep doing this until all the patterns are added.
- Specify the location of the files/folder whether in all selected sources or just a specific folder. By default All selected sources is selected.
- Choose whether to apply the filter to a file, folder of both.

