Table of Contents
Run Backup
Start a Manual Backup
1. Click the Backup icon on the main interface of CloudBacko Pro.
2. Select the backup set which you would like to start a backup for.

3. If you would like to modify the In-File Delta type, Destinations and Retention Policy Settings, click Show advanced option.
4. When advanced options are shown, it is recommended that you tick the checkbox next to Run Retention Policy after backup in the Retention Policy section at the bottom. This will help you save hard disk quota in the long run. In the In-File Delta type section, the following three options are available:
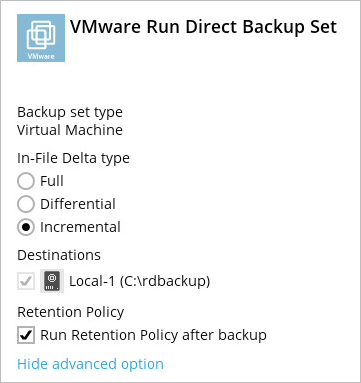
- Full – A full backup captures all the data that you want to protect. When you run a backup job for the first time, AhsayOBM will run a full backup regardless of the in-file delta setting.
- Differential – A differential backup captures only the changes made as compared with the last uploaded full file only (i.e. changes since the last full backup, not since the last differential backup).
- Incremental – An incremental backup captures only the changes made as compared with the last uploaded full or delta file (i.e. changes since the last incremental backup).
5. Click Backup to start the backup job. The status will be shown.

6. When the backup is completed, the progress bar will be green in color and the message “Backup Completed Successfully” will appear.

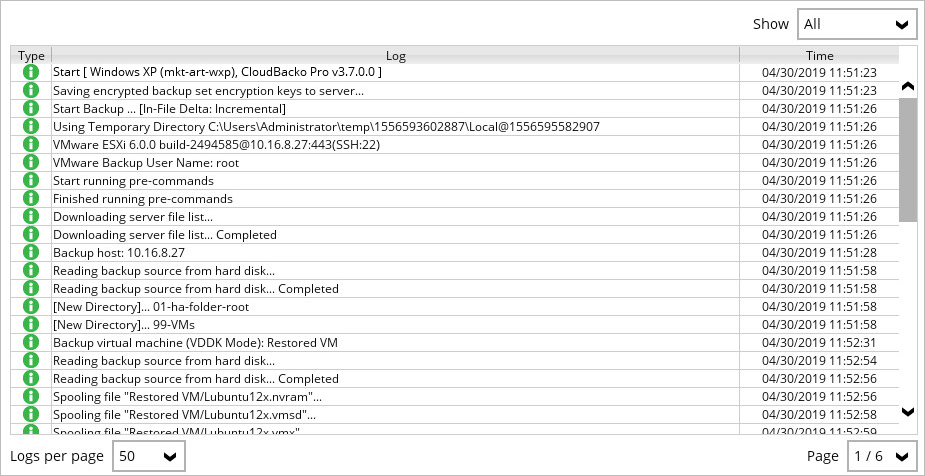
7. You can click the  View icon on the right hand side to check the log. A window will pop up to show the log. Click Close to exit the pop-up window.
Configure Backup Schedule for Automated Backup
1. Click the Backup Sets icon on the AhsayOBM main interface.
2. All backup sets will be listed. Select the backup set that you would like to create a backup schedule for.
3. Go to the Backup Schedule tab. If the Run scheduled backup for this backup set option is off, switch it On. Existing schedules will be listed if any.
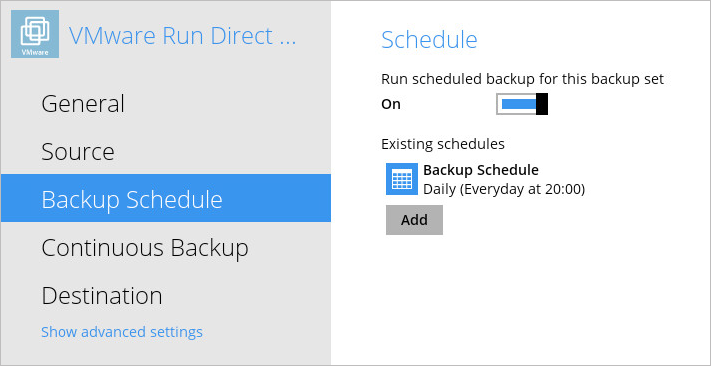
4. Click Add to add a backup schedule. The New Backup Schedule window will appear.
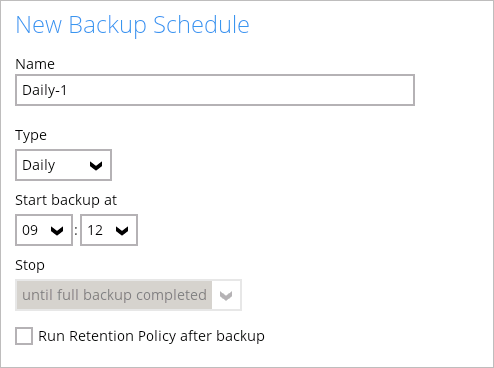
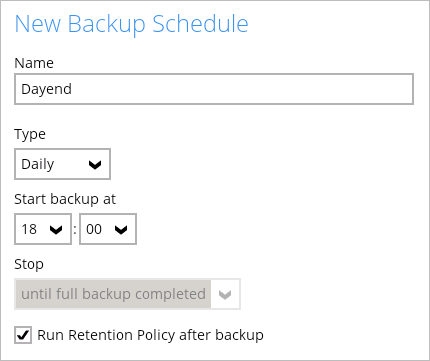
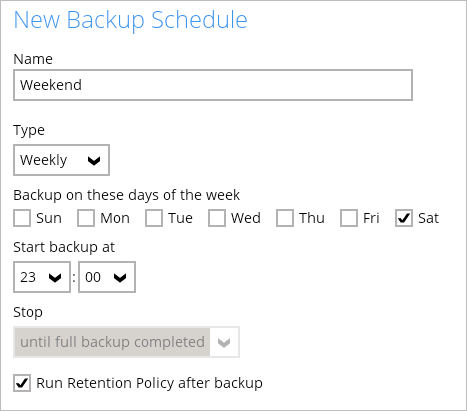
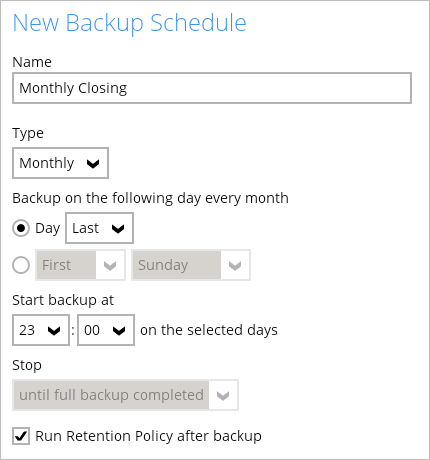
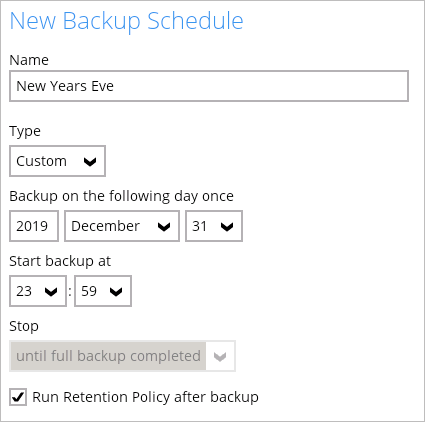
5. In the New Backup Schedule window, you can configure your backup schedule settings. To save hard disk quota in the long run, it is recommended that you tick the checkbox next to Run Retention Policy after backup at the bottom. The rest of the setting options will vary by which option you choose from the Type dropdown menu:
As an example, the four types of backup schedules may look like the following:
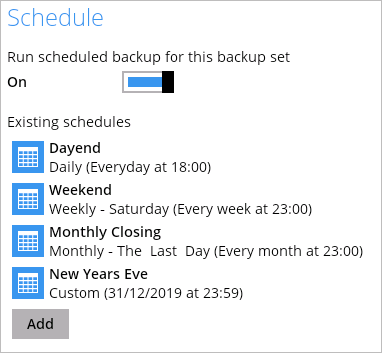
6. Click Save to confirm your settings when you are done with the settings.
