Table of Contents
Running Backup Jobs
Start a Manual Backup
1. Click the Backup icon on the main interface.
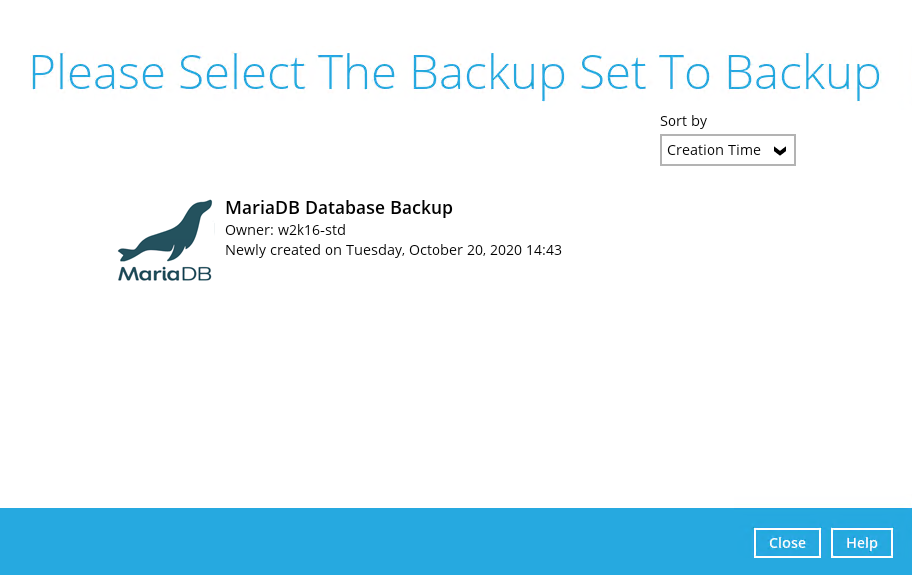
2. Select the MariaDB Database backup set which you would like to start a manual backup.
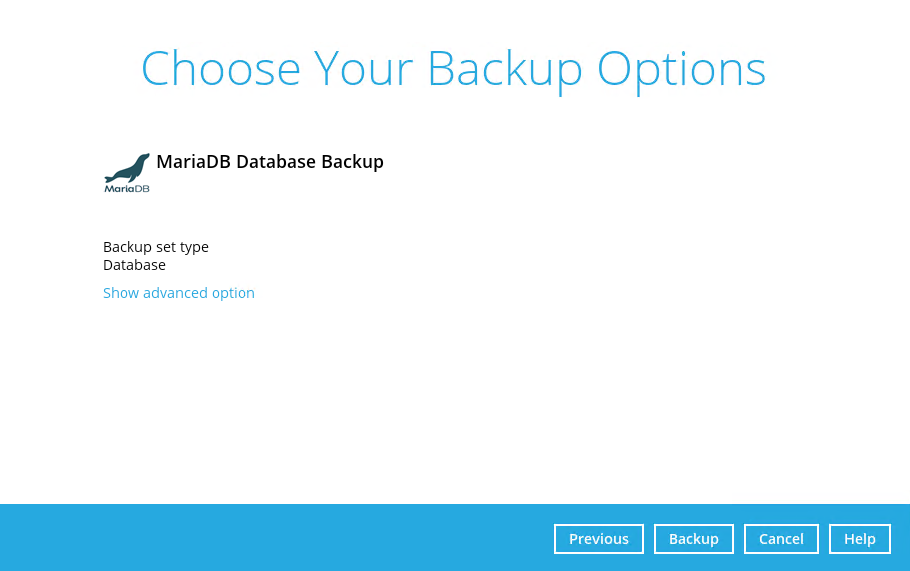
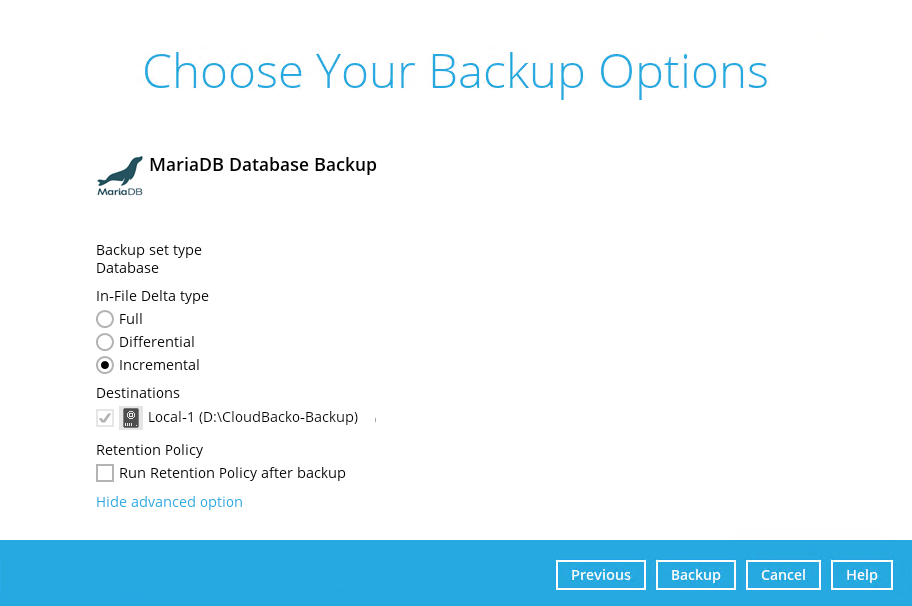
3. If you would like to modify the In-File Delta type, Destinations, or Run Retention Policy Settings, click on Show advanced option.
4. Click Backup to start the backup job.
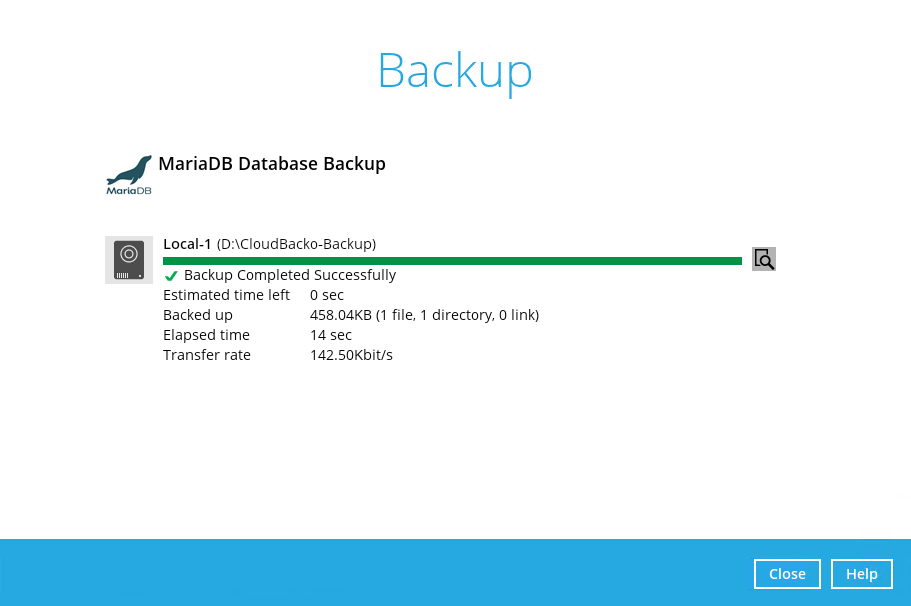
5. Backup job is completed.
Configure Backup Schedule for Automated Backup
1. Click on the Backup Sets icon on the AhsayOBM main interface.
2. Select the backup set that you would like to create a backup schedule for.
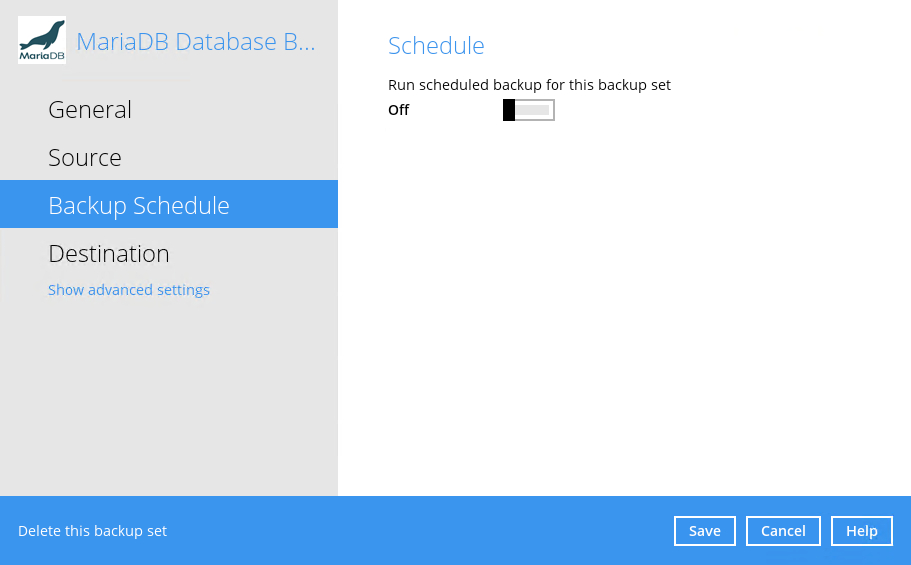
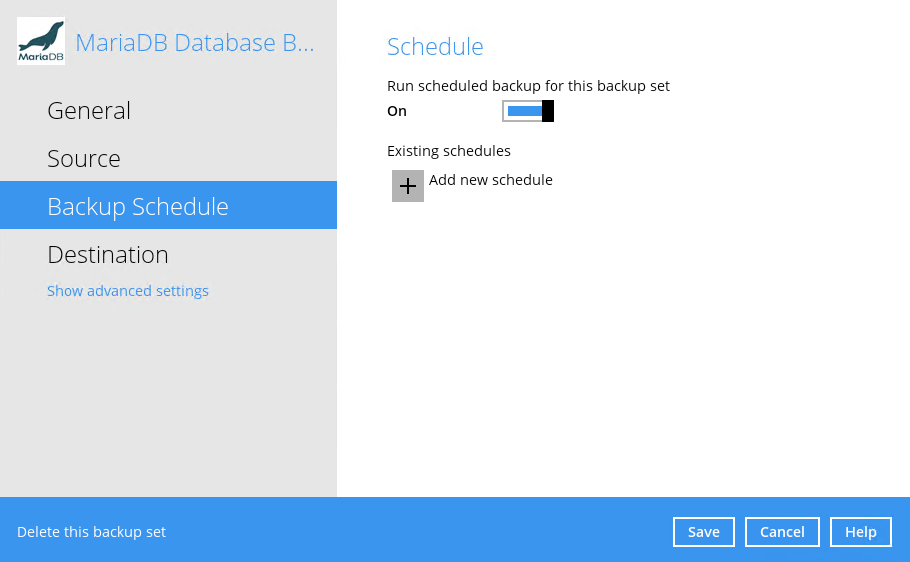
3. Click Backup Schedule.
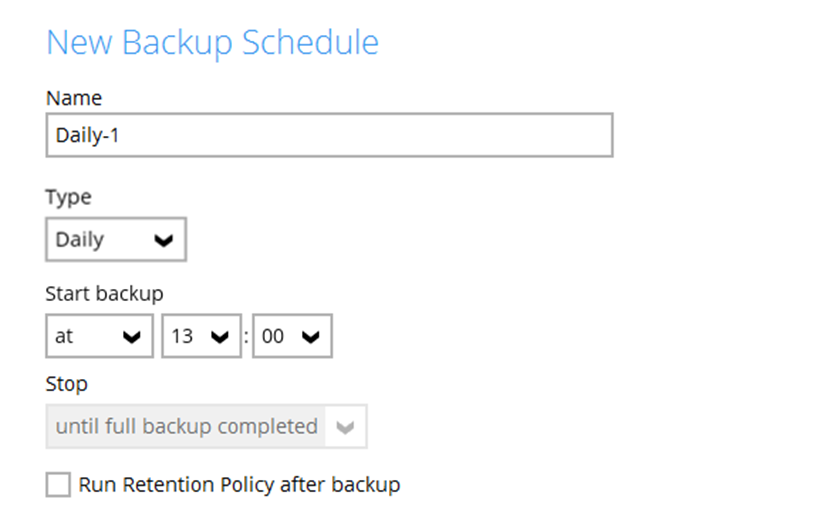
5. The New Backup Schedule window will appear.
In the New Backup Schedule window, configure the following backup schedule settings.
- Name – the name of the backup schedule.
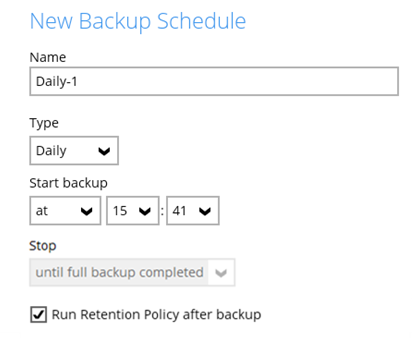
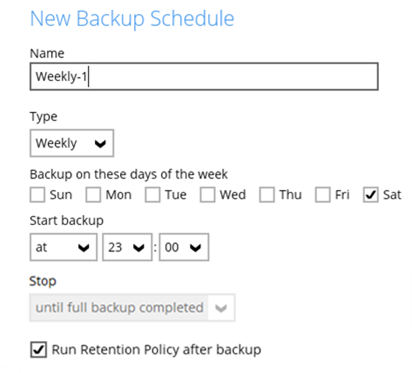
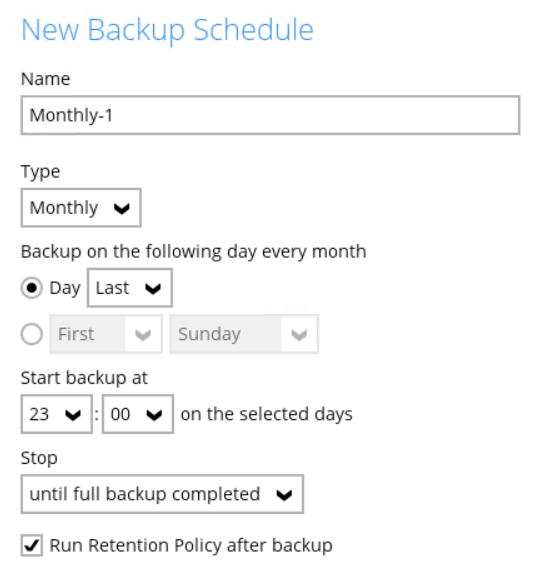
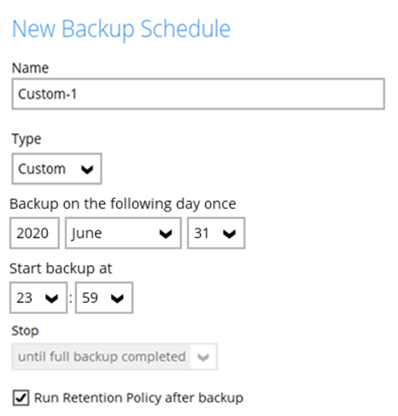
- Type – the type of backup schedule. There are four (4) different types of backup schedule: Daily, Weekly, Monthly and Custom.
- Daily – the time of the day or interval in minutes/hours which the backup job will run.
- Weekly – the day of the week and the time of the day or interval in minutes/hours which the backup job will run.
- Monthly - the day of the month and the time of that day which the backup job will run.
- Custom – a specific date and the time of that date which the backup job will run.
- Start backup – the start time of the backup job.
- at – this option will start a backup job at a specific time.
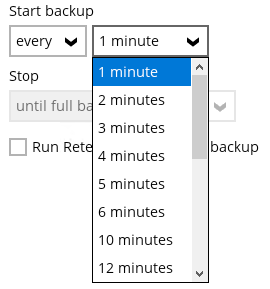
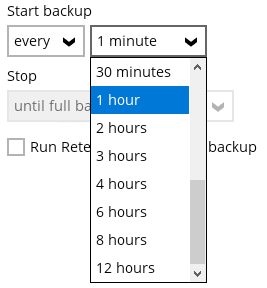
- every – this option will start a backup job in intervals of minutes or hours.
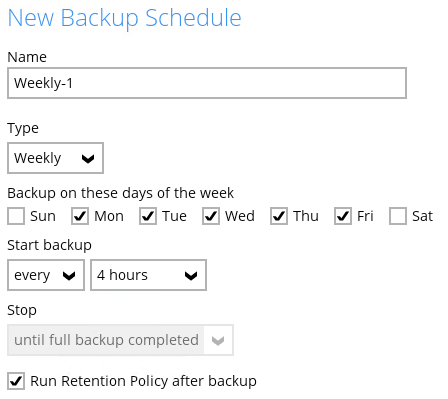
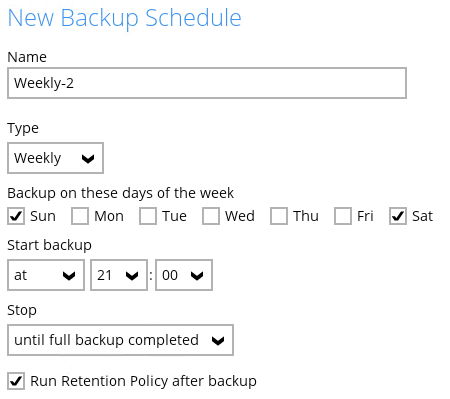
Here is an example of a backup set that has a periodic and normal backup schedule.
Figure 1.1 – Periodic backup schedule runs every 4 hours from Monday – Friday during business hours
Figure 1.2 – Normal backup schedule runs at 21:00 or 9:00 PM on Saturday and Sunday on weekend non-business hours
- Stop – the stop time of the backup job. This only applies to schedules with start backup “at” and is not supported for periodic backup schedule (start backup “every”)
- until full backup completed – this option will stop a backup job once it is complete. This is the configured stop time of the backup job by default.
- after (defined no. of hrs.) – this option will stop a backup job after a certain number of hours regardless of whether the backup job has completed or not. This can range from 1 to 24 hrs.
- Run Retention Policy after backup – if enabled, the AhsayOBM will run a retention policy job to remove files from the backup destination(s) which have exceeded the retention policy after performing a backup job. To save hard disk quote in the long run, it is recommended to enable this option.
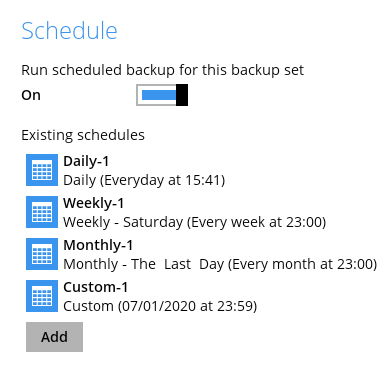
As an example, the four types of backup schedules may look like the following:
6. Click Save to confirm your settings once done.
