Table of Contents
Run Direct VM Restore
Running Direct Restore via CloudBacko Pro
1. Click the Restore icon on the main interface of CloudBacko Pro.
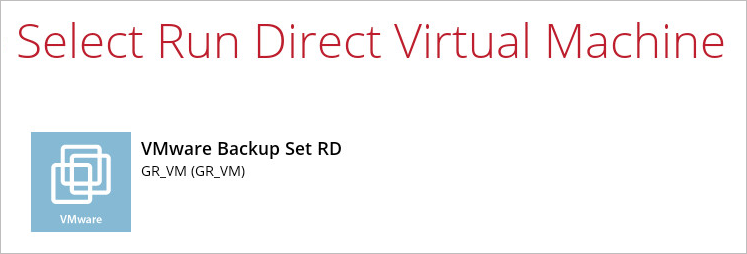
2. Select the backup set that you would like to restore the VM from.

3. Select the backup destination that contains the VM that you would like to restore.

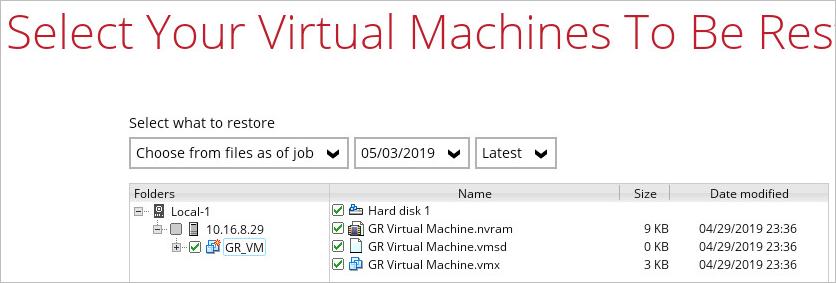
4. Select the virtual machine that you would like to restore.
When performing a Run Direct restore to Alternate Location, only one VM can be selected per restore session.
If you wish to restore the VM to another VMware host (ESXi server), you can restore the VM in raw file format, where the .vmdk disk format file will be included, by clicking the Restore raw file button at the bottom left corner.
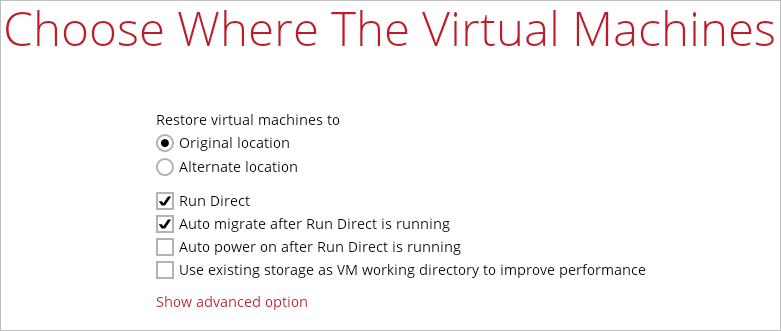
5. Select to restore the VM to its Original location (to the original VMware host and datastore), or to an Alternate location (to another datastore of the original VMware host or another VMware host).
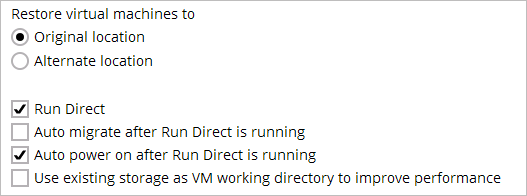
6. Enable the Run Direct option to run the VM directly from the backup files in the backup destination. Configure the following options according to your restore requirement:
- Auto migrate after Run Direct is running
Enable this option to auto migrate the VM to a permanent location on the original VMware host \ another datastore of the original VMware host \ another VMware host, according to the Restore virtual machines to option.
This will finalize the recovery of the VM; The migration will be performed after the VM is powered on.
- Auto power on after Run Direct is running
Enable this option to power up the virtual machine automatically, after Run Direct is running for the VM.
- Use existing storage as VM working directory to improve performance
Enable this option to enhance performance of the restored VM. Click Next to proceed when you are done with the settings.
7. Click Show advanced option if you want to enable Verify checksum of in-file delta files during restore.
8. This step applies only for restoring to Alternate location. For restoring to Original location, skip to step 9.
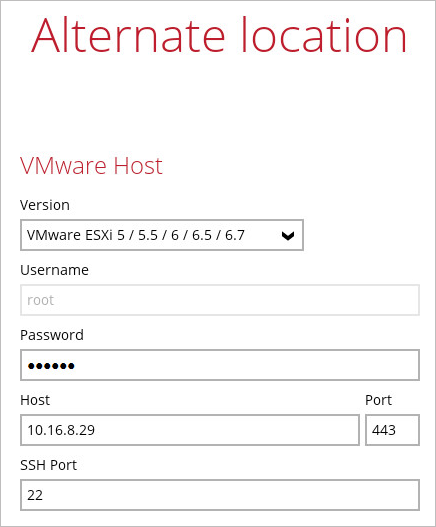
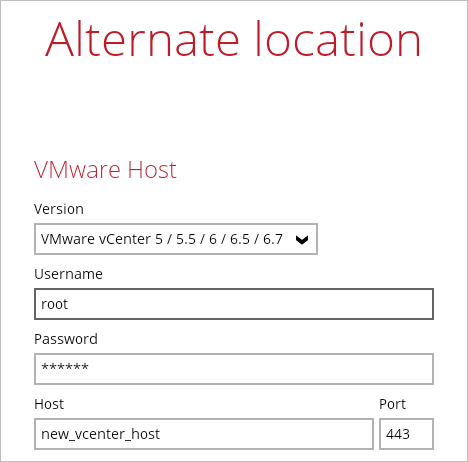
Enter the VMware host and access information of where you would like the VM to be restored to.
- For restoration to another VMware host (ESXi server), select Version VMware ESXi 5 / 5.5 / 6 / 6.5 / 6.7, then enter the Password of the root account, Host, Port and SSH Port of the new / original host.
Press Next to proceed when you are done with the settings.
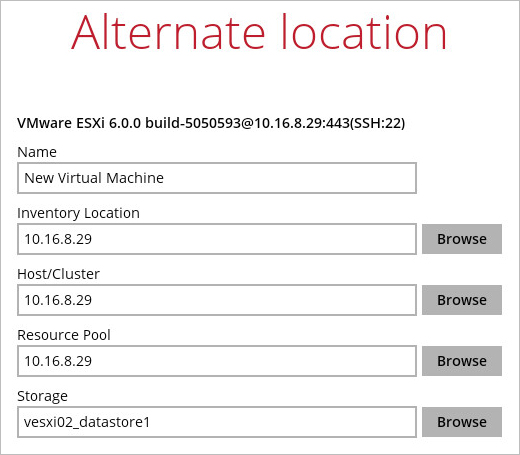
Enter a new Name for the VM, then Browse to modify the Inventory Location, Host/Cluster, Resource Pool and Storage settings, according to where you would like the VM to be restored to.
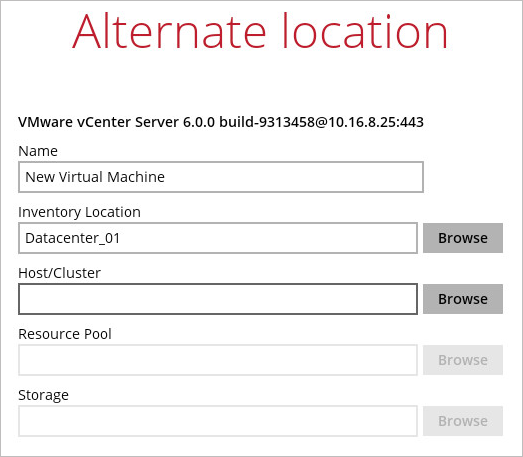
Click Next to proceed when you are done with the settings.
9. Select the temporary directory for storing temporary files, then click Restore to start the restoration.
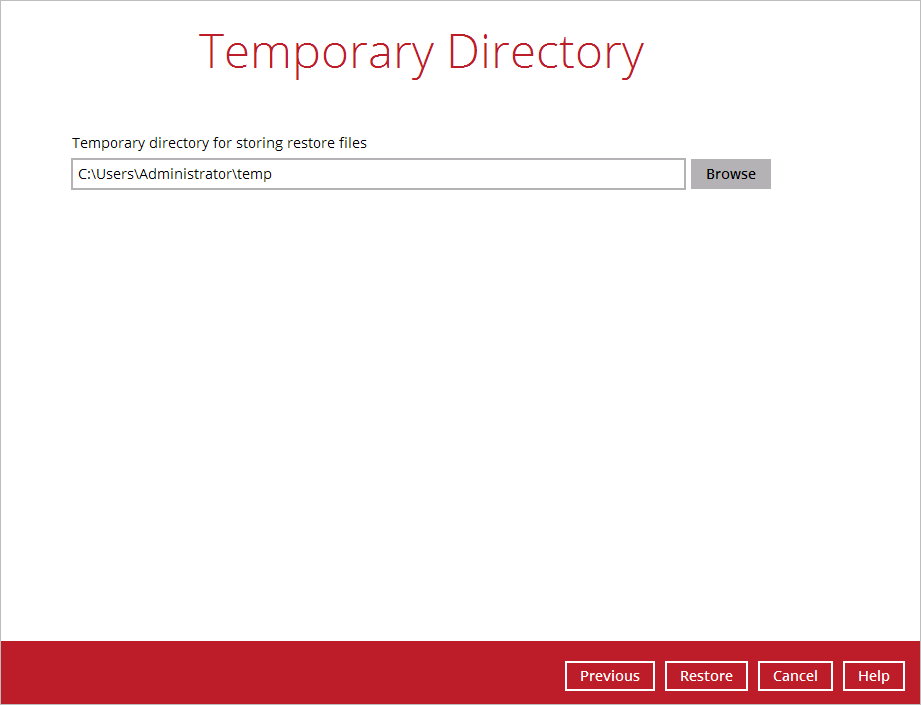
10. When restoring your guest VM, different messages will be prompted depending on the selected location.
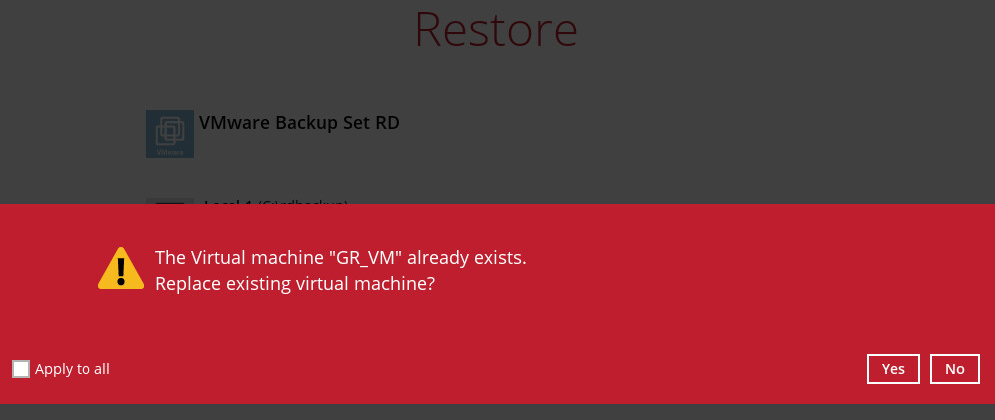
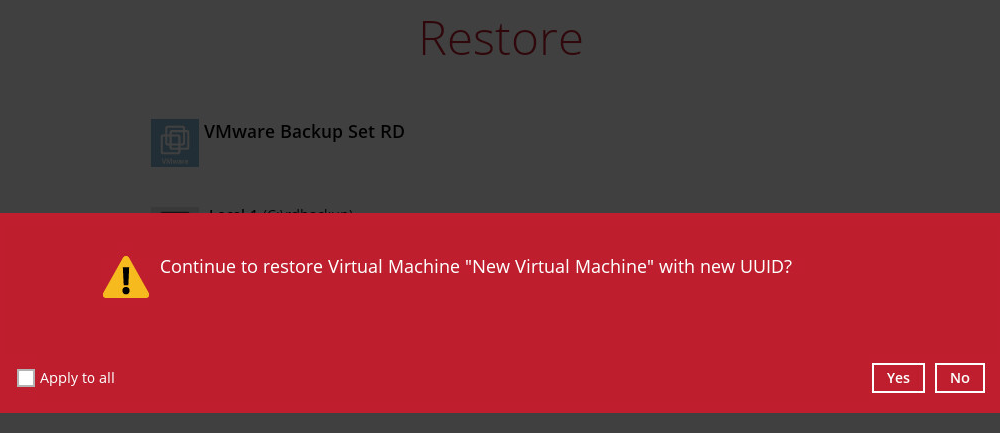
- Restoring guest VM to another VMware host, since each virtual machine is automatically assigned a universally unique identifier (UUID), a new UUID must be created when you restore the guest VM to another host. It is not possible to have two identical UUID running at the same time, so make sure to click Yes when you see the prompt below.
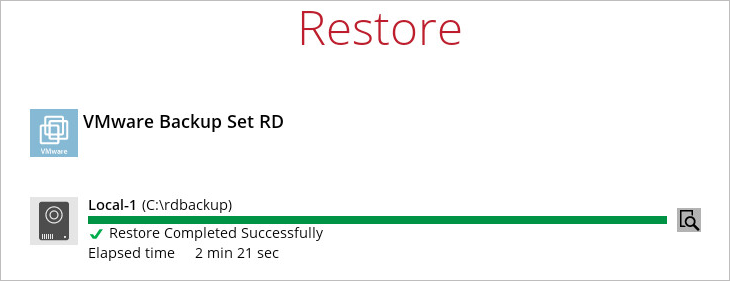
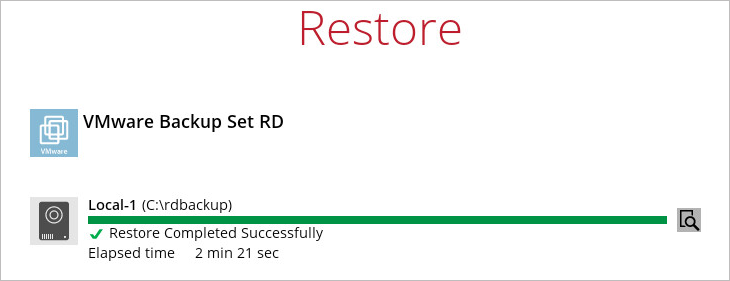
11. The following screen shows when the VM has been restored successfully.
Verifying Run Direct Restore Connection
When a run direct restore is initiated, the following steps are taken at the backend.
i. Create NAS datastore - The backup destination is turned into a NFS (also known as NAS) datastore
ii. Mount VM on VMware Host - The NFS datastore is mounted on the VMware Host
iii. Create Virtual Machine Snapshot - A snapshot of the virtual machine is created. All changes made while Run Direct is taking place will be stored temporarily in this snapshot, and the changes will not be committed to the virtual machine until a migration is done.
iv. Power on Virtual Machine - The virtual machine is being powered on so it can be run directly from the backup files.
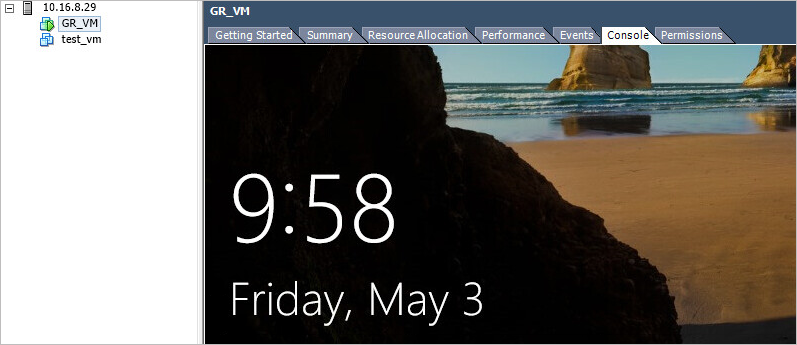
Check the following items to verify if the run direct restore connection has been established between the backup destination and the VMware host.
Do not exit from the AhsayOBM application when a Run Direct restored VM is still running. Run Direct must be stopped (e.g. by finalizing recovery of the VM or stopping the VM) before exiting CloudBacko Pro.
When the restored VM is starting up, there may be an error screen prompted to alert you that Windows was not shut down properly. This message shows as a result of the VM’s runtime status not being backed up. You may simply select to start up Windows as normal to proceed with the startup.
Manage Run Direct VM
Manage a Run Direct restored virtual machine, by finalizing the VM recovery (e.g. migrating it to a permanent location on the VMware host), or stop the virtual machine when it is no longer needed.
1. Click the Restore icon on the main interface of CloudBacko Pro.
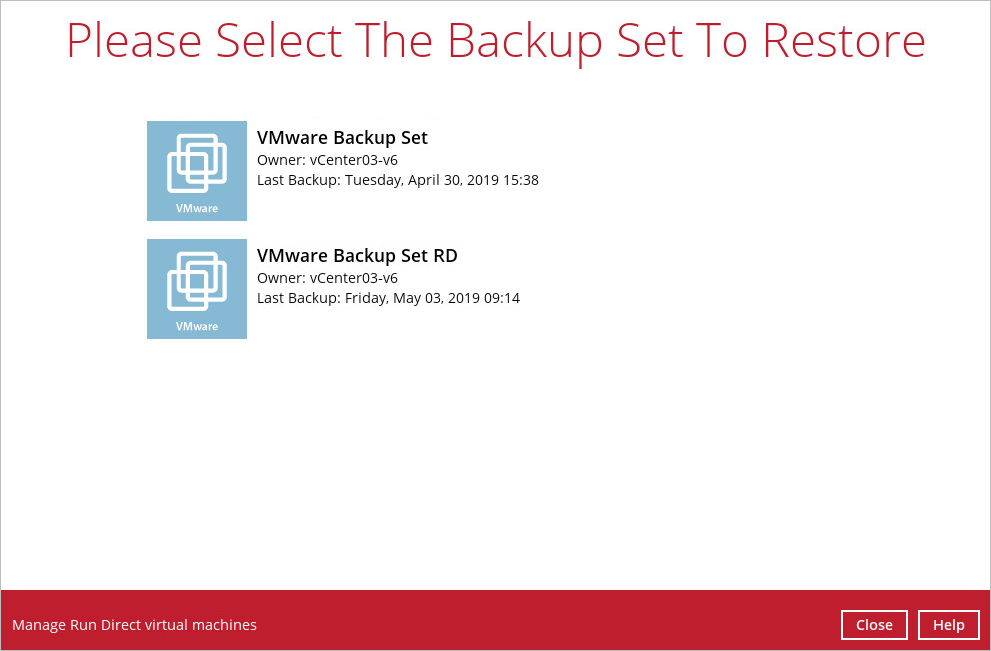
2. Click Manage Run Direct virtual machines to manage all Run Direct virtual machines.
Finalize VM Restore
To finalize recovery of a VM, migrate it to a permanent location on the VMware host:
1. Select the backup set which contains the Run Direct VM that you would like to finalize.
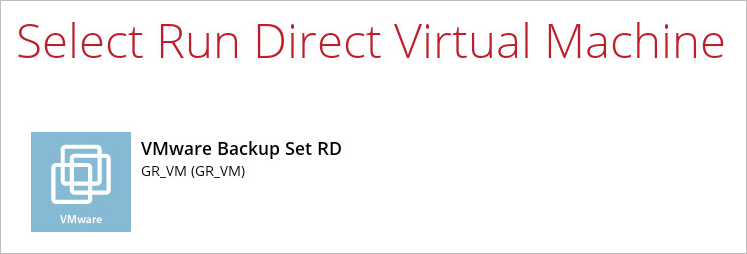
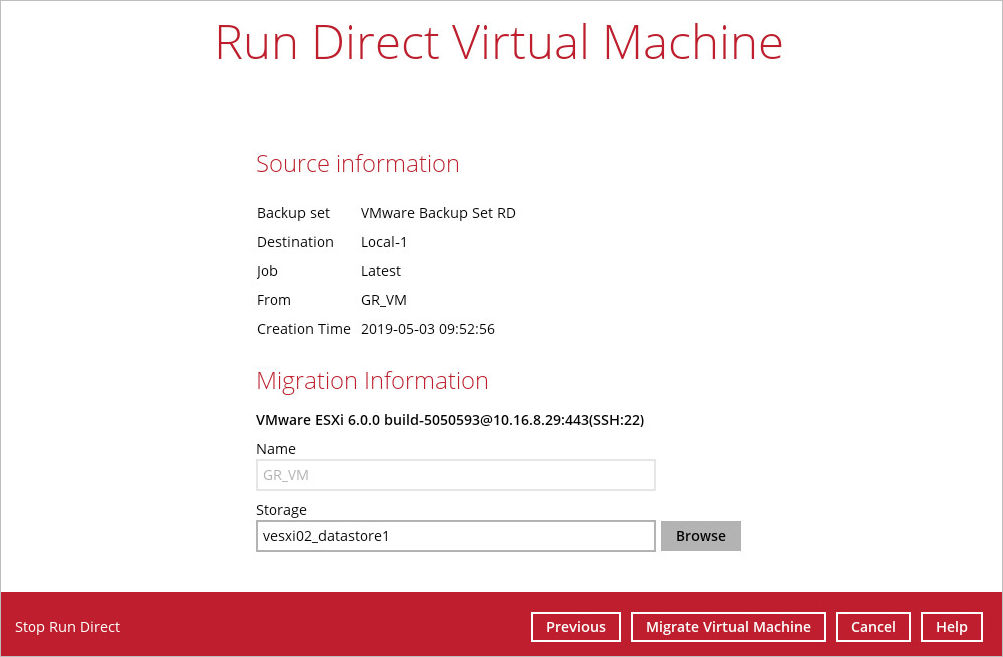
2. Click Browse to select the datastore where you would like to migrate the VM to.
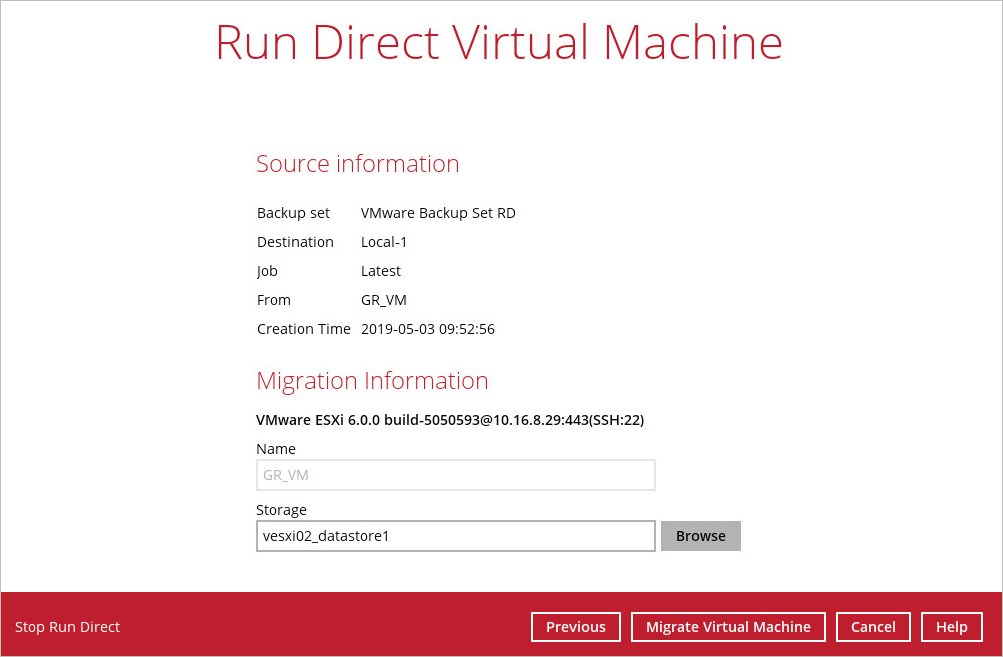
3. Click Migrate Virtual Machine to start the migration process.
For VM on ESXi host, the VM may be suspended temporarily during the migration process. The downtime of the VM should be minimal.
Stop Run Direct VM
To stop all virtual machines, or individual virtual machine that is running with the Run Direct feature:
1. Click Stop all Run Direct virtual machines to stop all VMs that are currently running with the Run Direct option.
Alternatively, select the backup set which contains the VM that you would like to stop.
