Restoring a VM in VMDK format
We have introduced a new feature to enable guest VMs that are backed up in VDDK mode to be restored in VMDK raw file format. This feature is useful if you wish to restore the backed up VM to another VMware host (ESXi server) even without using the CloudBacko Pro.
1. Click the Restore icon on the main interface of CloudBacko Pro.
2. Select the backup set that you would like to restore the VM from.

3. Select the backup destination that contains the VM that you would like to restore.

4. Select to restore VM from a specific backup job, or the latest job available from the Select what to restore drop down menu.
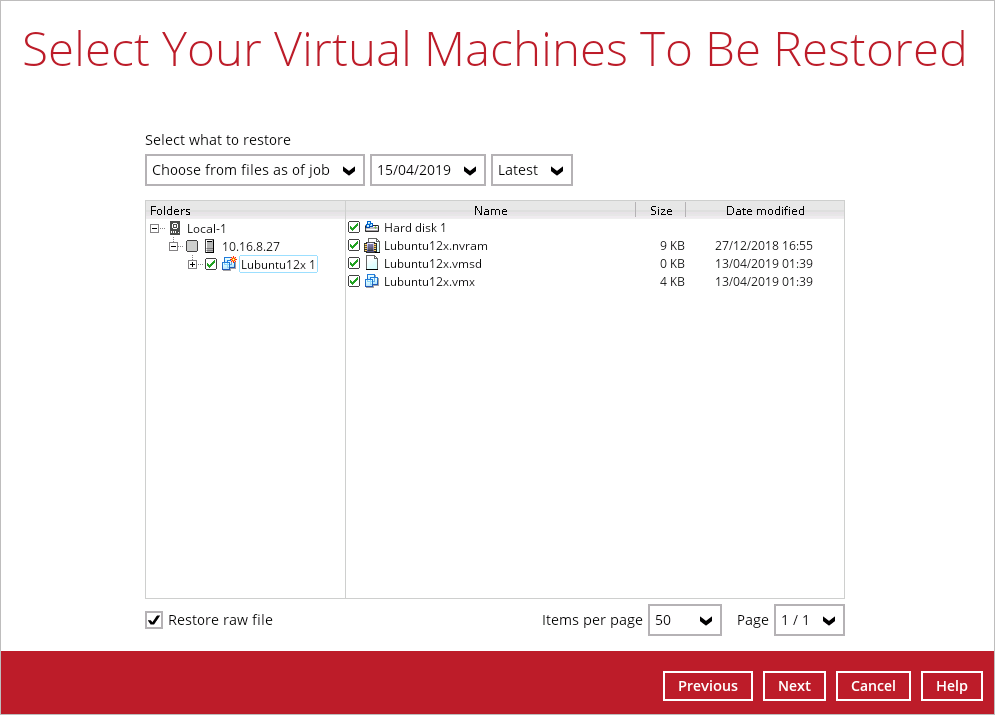
5. Select the virtual machine that you would like to restore in .vmdk format, then click the Restore raw file checkbox at the bottom left corner. It is possible to select multiple VM to restore in .vmdk format.
6. Select a location where you wish to restore the VM to. Click Browse to select a location and then click Next to confirm.

7. Click Show advanced option if you want to enable the Verify checksum of in-file delta files.

8. Select a temporary directory for storing restore files.

9. Click Restore to start the VM restore.
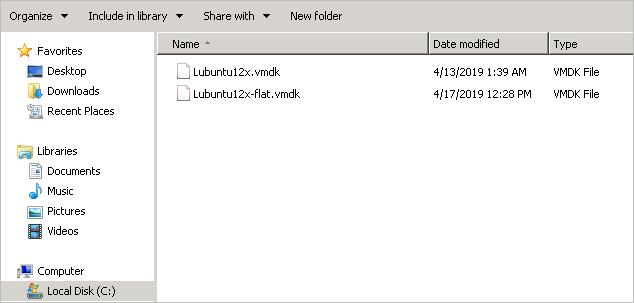
10. Open the folder where you have the VM restored. Check whether the .vmdk file has been successfully restored.
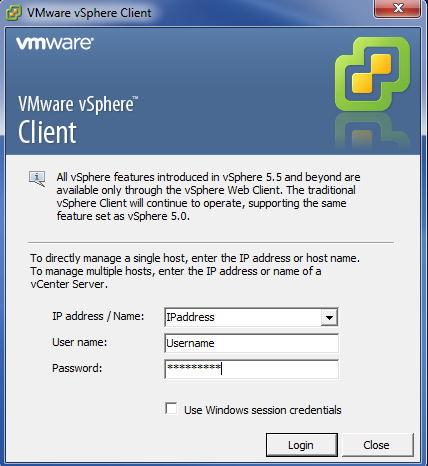
11. Open the VMware vSphere agent and log in to the ESXi server you wish to restore the VM to.
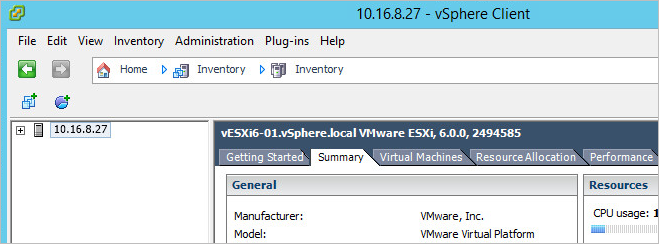
12. Click on the VM machine’s name at the top, then look for the Summary tab on the right.
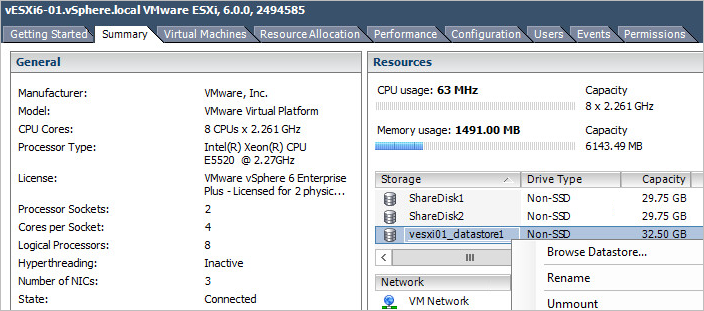
13. Right click on the Datastore where you wish to deploy the restored VM to, then click Browse Datastore.
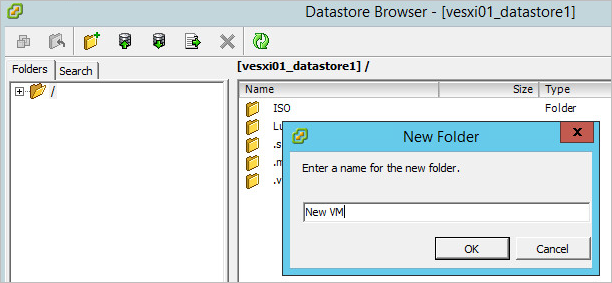
14. Right click on the right panel to open a new folder for uploading the VM you are going to import.
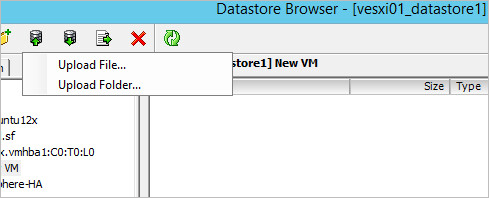
15. Open the newly created folder then click the Upload Folder option at the top menu bar to select the VM you wish to restore.
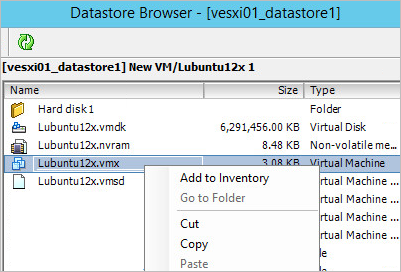
16. Open the folder you have just uploaded, then right click on the .vmx file and click on Add to Inventory.
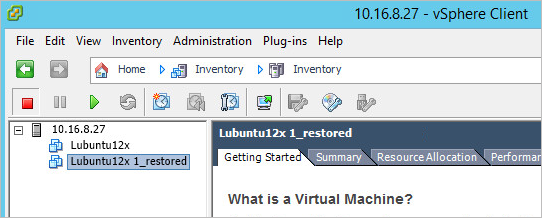
17. Follow the screen prompts and name the imported VM and confirm the resource pool. You should see the imported VM display on the left on the main page of vSphere if the VM has been successfully imported to the ESXi server.
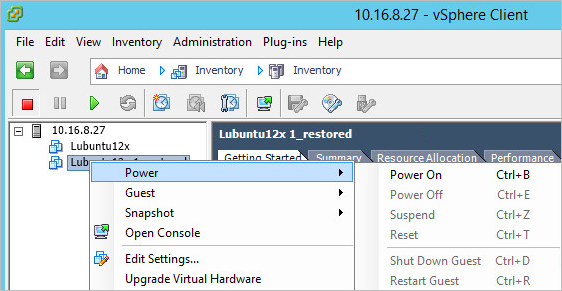
18. Right click on the newly imported VM and then click Power On to turn it on.
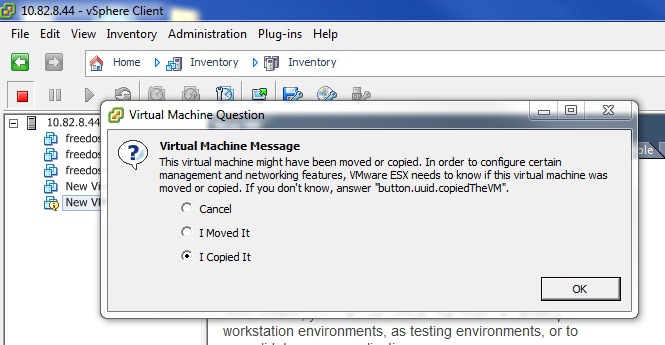
19. Select I Copied It and then click OK to confirm if you see this screen.
