Mail-Level Restore for Exchange 2007 / 2010 / 2013
Below are the steps for restoring individual mailbox items to Microsoft Exchange Server 2007 / 2010 / 2013.
1. In the CloudBacko Pro main interface, click the Restore icon.
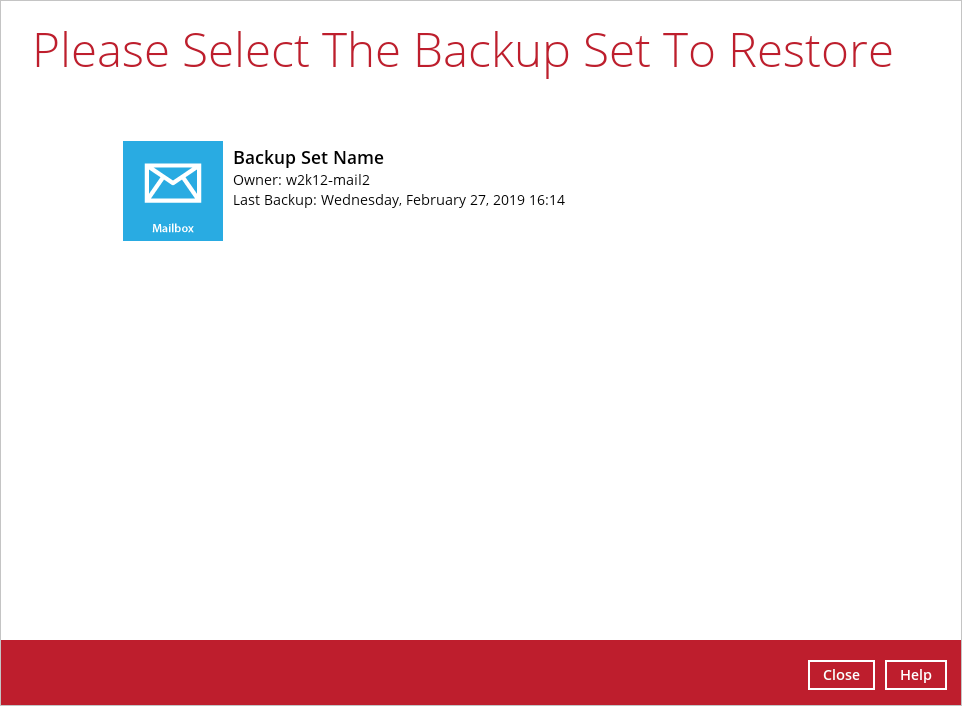
2. Select the backup set that you would like to restore mail from.
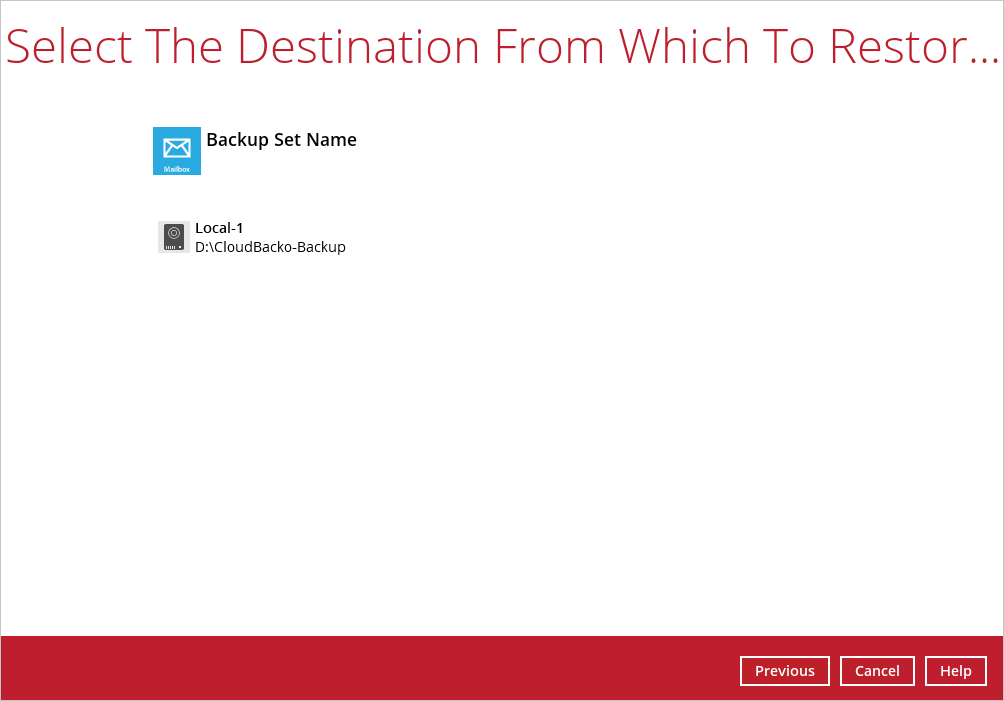
3. Select the backup destination that contains the mail(s) that you would like to restore.
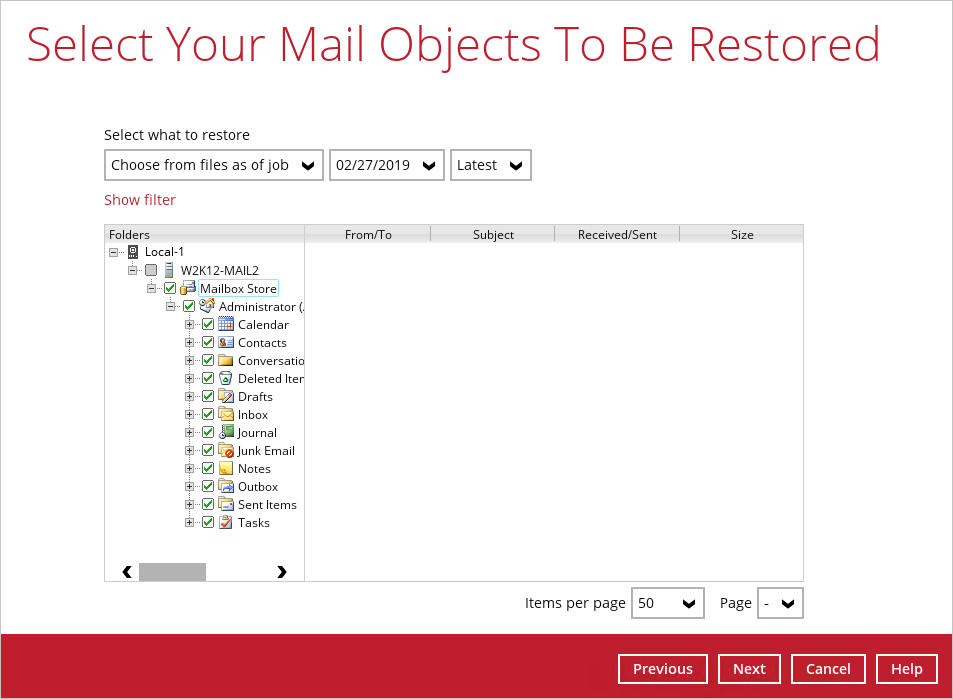
4. Click to expand the menu tree to select which mailbox to restore. You can also select mail item(s) from a specific backup job or all mail items that you have backed up to restore.
Click Next to proceed.
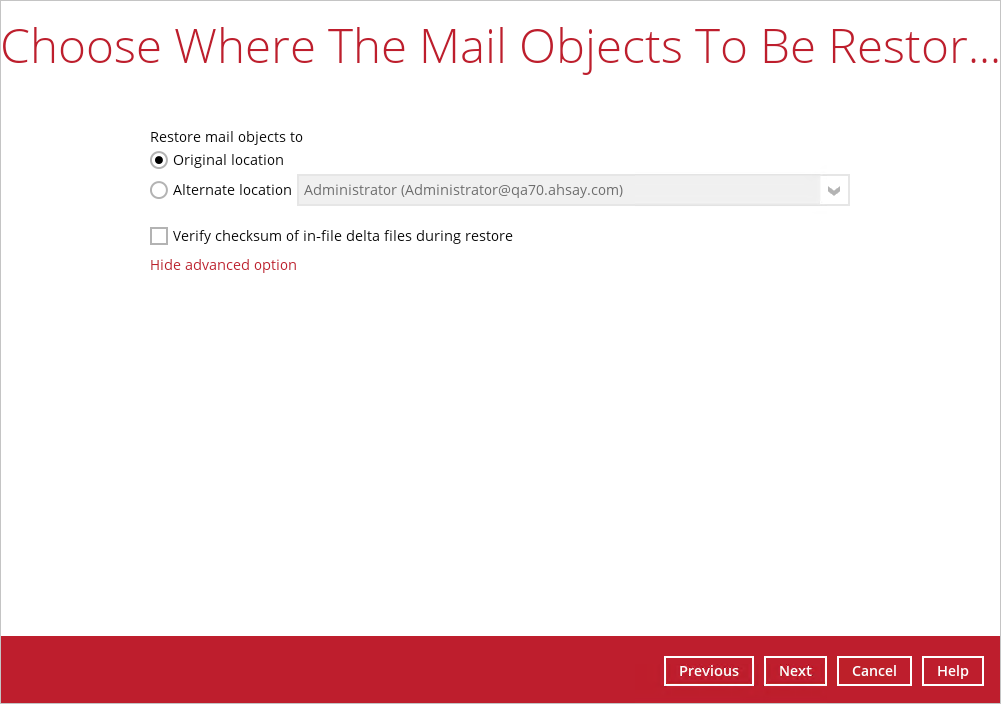
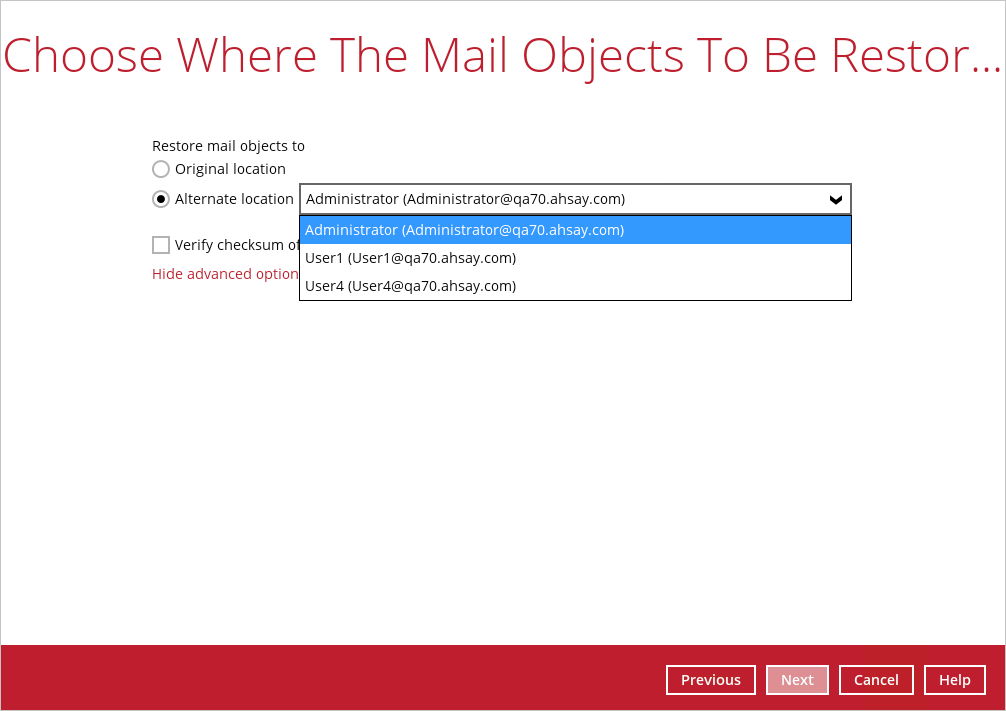
5. Select to restore the mail to their Original mailbox, or to an Alternate mailbox.
Restore to Original Mailbox Select the Original location option, then press Next to proceed.
Click Show advanced option if you want to modify the Verify checksum of in-file delta files setting.
Restore to Alternate Mailbox You can choose to restore mailbox item(s) to another mailbox in the same Exchange server. Select the Alternate location option and the desired mailbox destination, then press Next to proceed.
In addition, you can also restore mailbox item(s) to a different Exchange server of the same version. In this case, the restoration should be triggered by the CloudBacko Pro on the destination Exchange server.
Limitation If you are trying to restore the mailbox item to a destination mailbox which has a different language setting than the original mailbox, CloudBacko Pro will attempt to restore mailbox item(s) to their respective destination folder based on the translation listed below.
For folders such as ‘Calendar’ or ‘Notes’, a new folder ‘Calendar’ or ‘Notes’ will be created.
| Backup source (English) | Action | Destination mailbox with Chinese as default language settings |
|---|---|---|
| Inbox | Merge | 收件箱 |
| Outbox | Merge | 寄件匣 |
| Sent Items | Merge | 寄件備份 |
| Deleted Items | Merge | 刪除的郵件 |
| Drafts | Merge | 草稿 |
| Junk E-Mail | Merge | 垃圾電郵 |
| Calendar | Create new folder | Calendar |
| Notes | Create new folder | Notes |
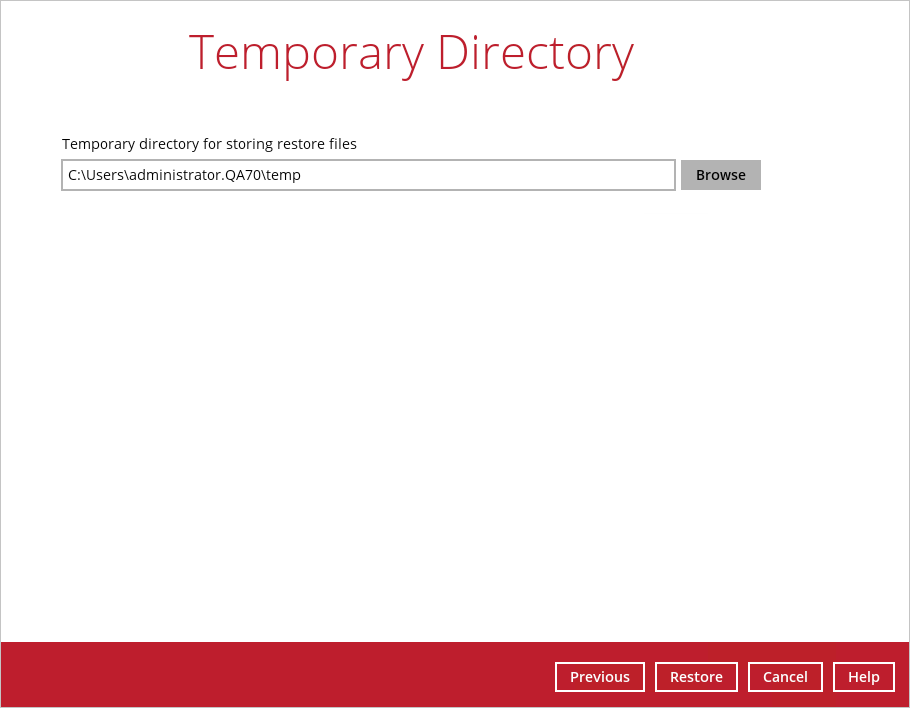
6. Select the temporary directory for storing temporary files, such as delta files when they are being merged, click Restore to start the restoration.
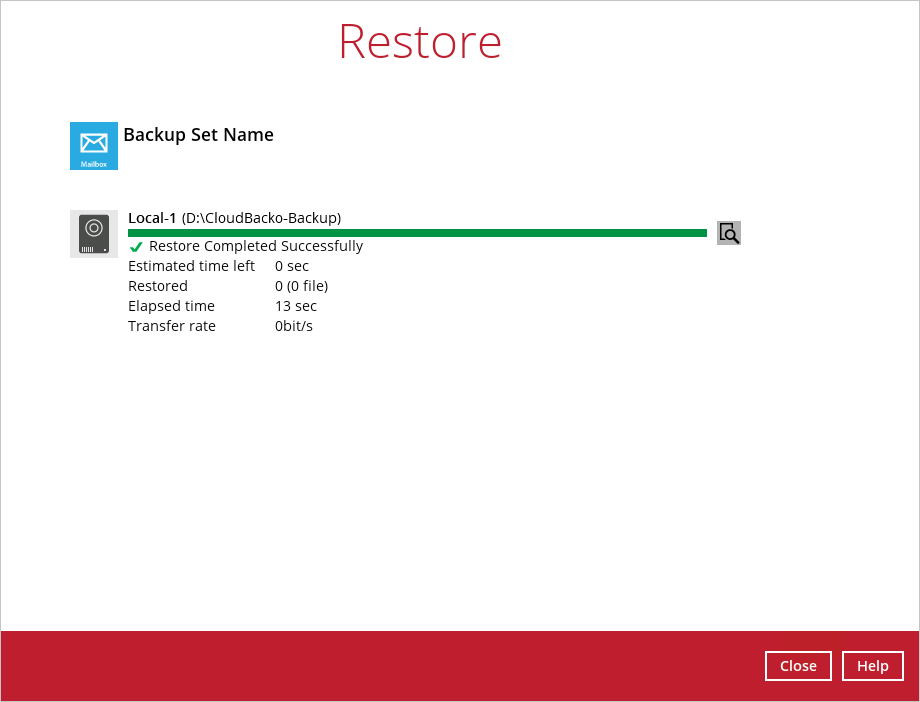
7. The following screen with the text Restore Completed Successfully shows when the restoration is completed.

