Restore
Using CloudBacko Lite to do the restoration has three (3) options. Through Local machine, Original location, and Alternate location. Below are brief descriptions of the said features. After this quick walkthrough you will see the step-by-step instructions with corresponding screen shots on how to restore your data using the following options below.
- Local machine
Restore your data to your local computer where the CloudBacko Lite is running.
- Original location
Aside from the location machine option, you are also able to restore your data to your original location, on the cloud storage, where you backed them up.
- Alternate location
Besides the two options above, you can also restore your data to an alternate location which is through the same cloud storage but on a different folder.
Steps
1. Click the Restore icon on the main interface of CloudBacko Lite.
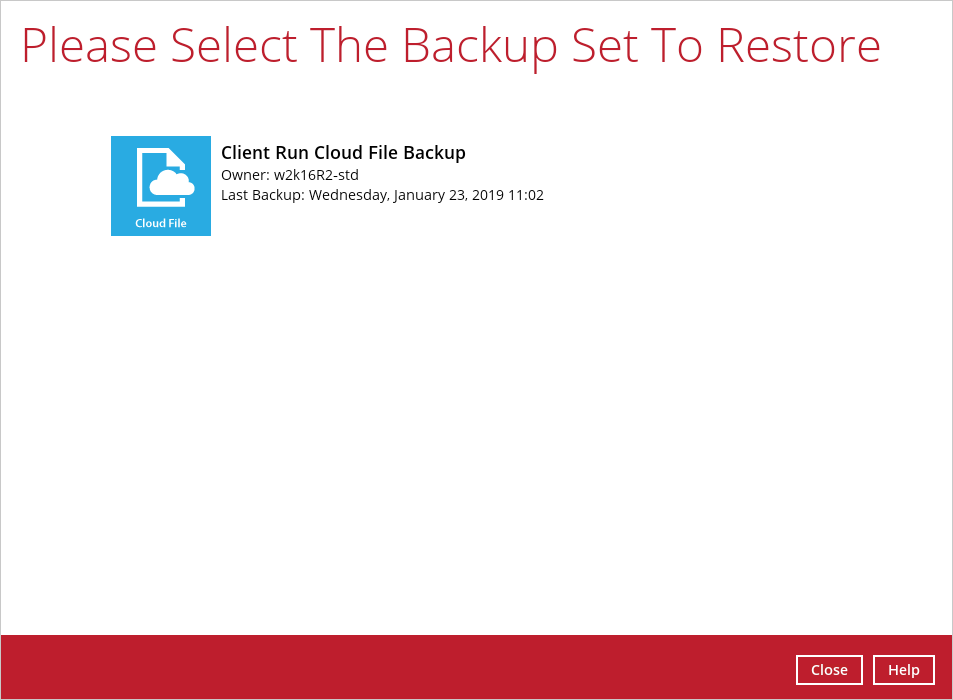
2. Select the backup set that you would like to restore from.
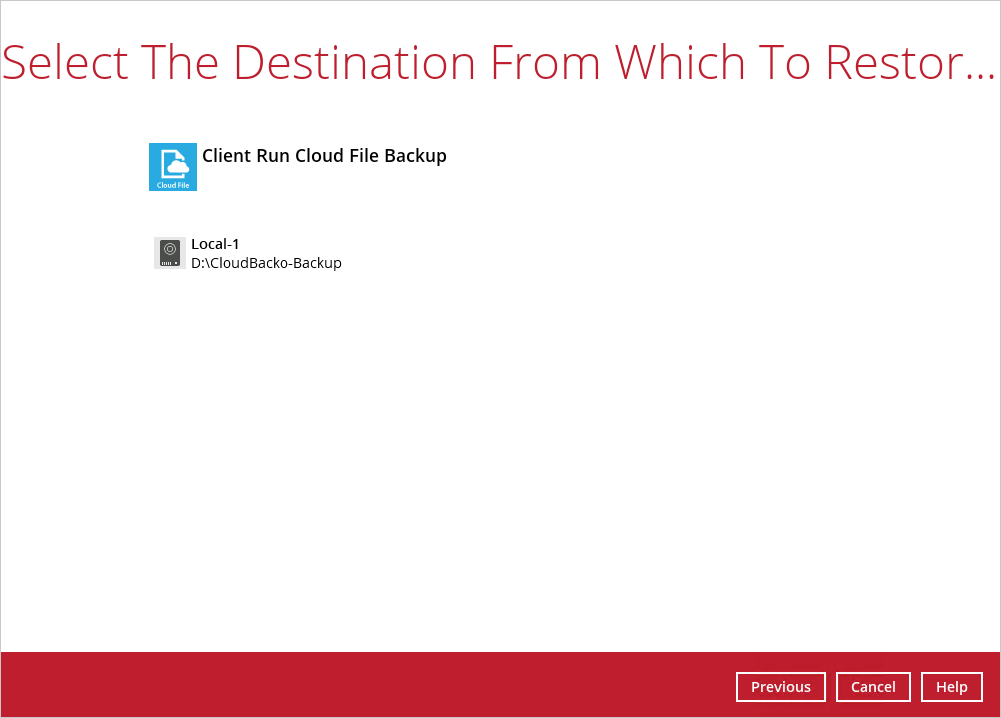
3. Select the backup destination that contains the data that you would like to restore.
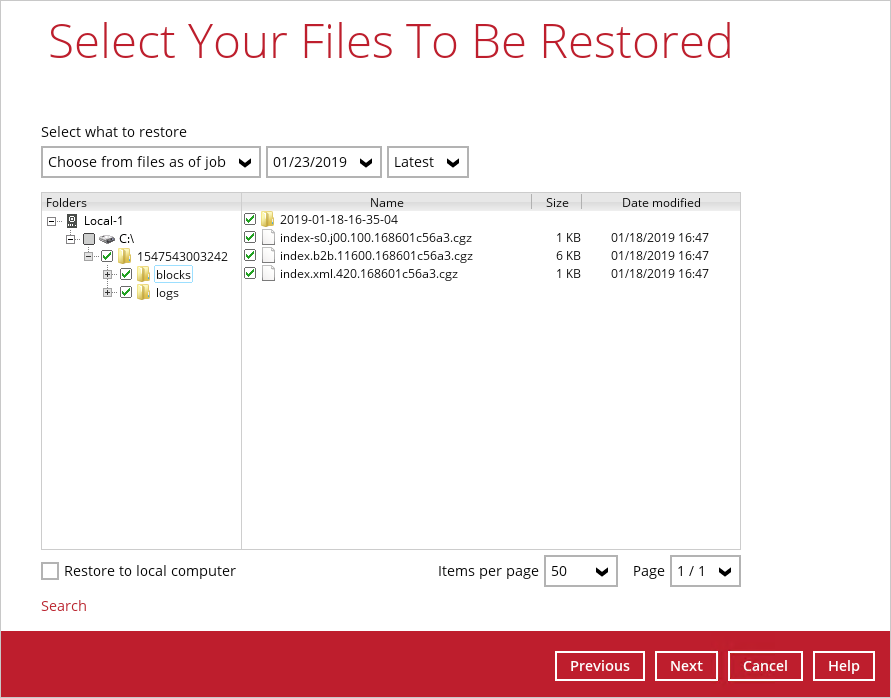
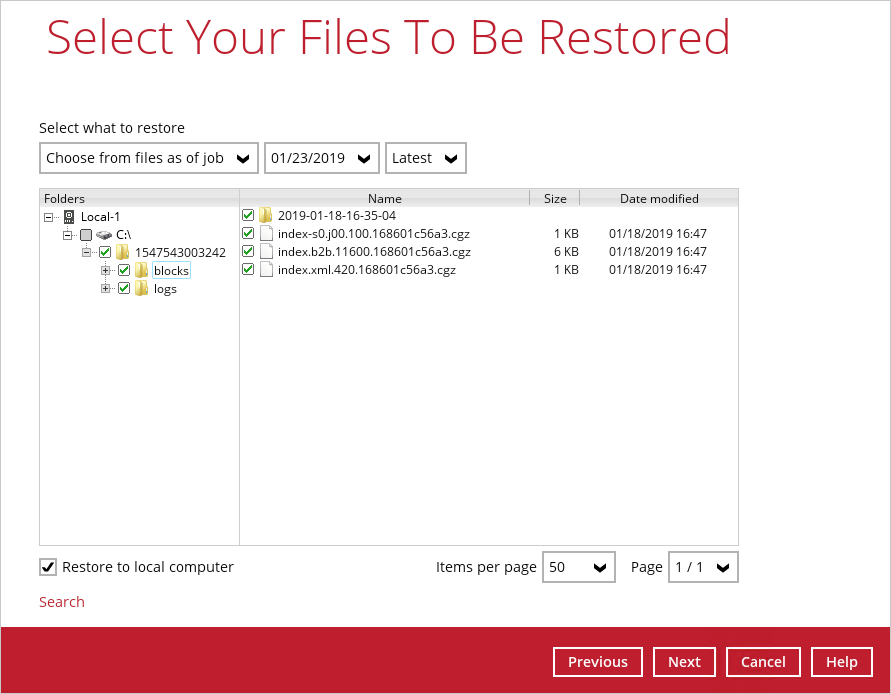
4. Select to restore from a specific backup job, or the latest job available from the Select what to restore drop down menu.
5. Select Restore to local computer if you want to restore the backed up data to the location computer.
Click Next to continue.
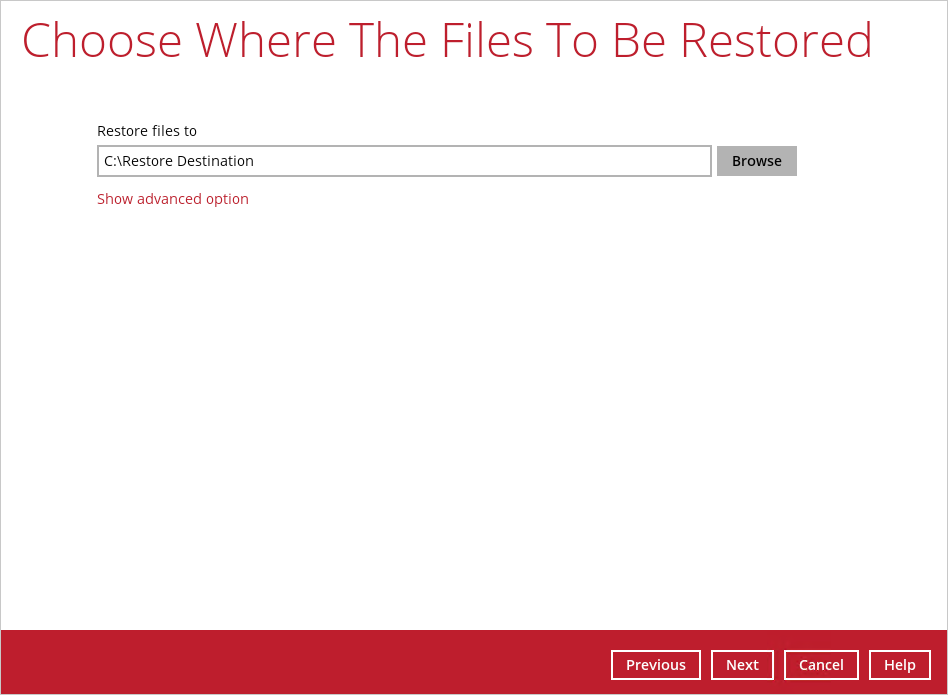
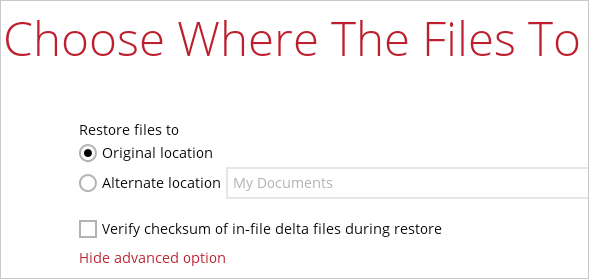
6. If you want to restore on your local computer, browse to the corresponding directory path on the local computer that you want the data to be restored to.
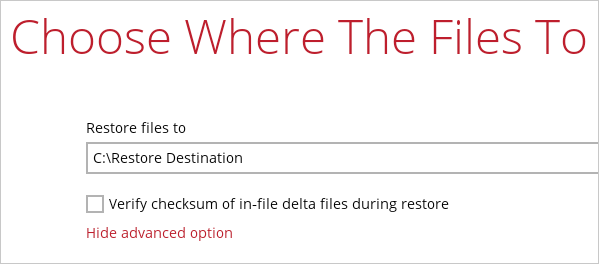
Click Show advanced option to configure other restore settings.
- Verify checksum of in-file delta files during restore - By enabling this option, the checksum of in-file delta files will be verified during the restore process. This will check the data for errors during the restore process and create a data summary of the in-file delta files which will be included in the report.
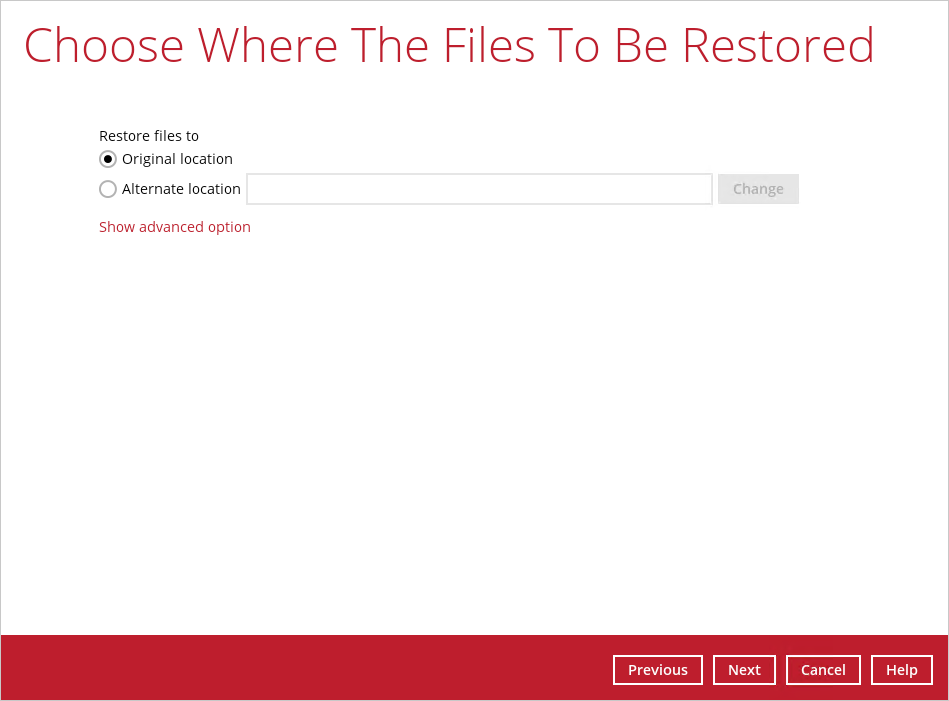
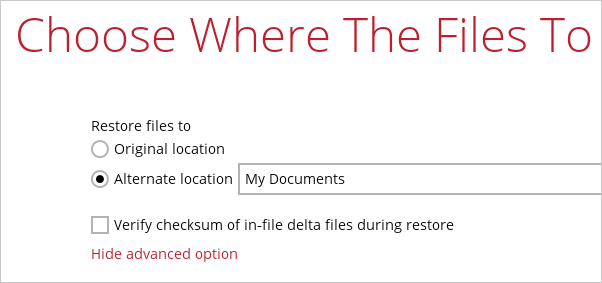
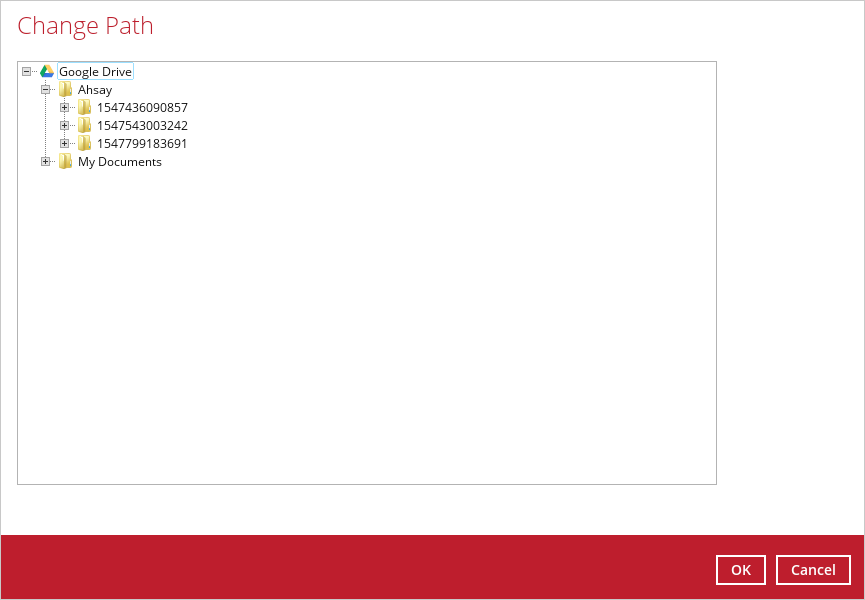
- Alternate location – You can choose to restore the data to a location of your choice. Click Change to browse to the alternate path on the cloud storage.
Data can only be restored to a local computer, or to the original cloud storage that the data was backed up from (e.g. same cloud storage provider and same account). You cannot restore the data to a different cloud storage (e.g. a different cloud storage provider or different account)
In this example, we have chosen the My Documents folder as the alternate location on the cloud storage.
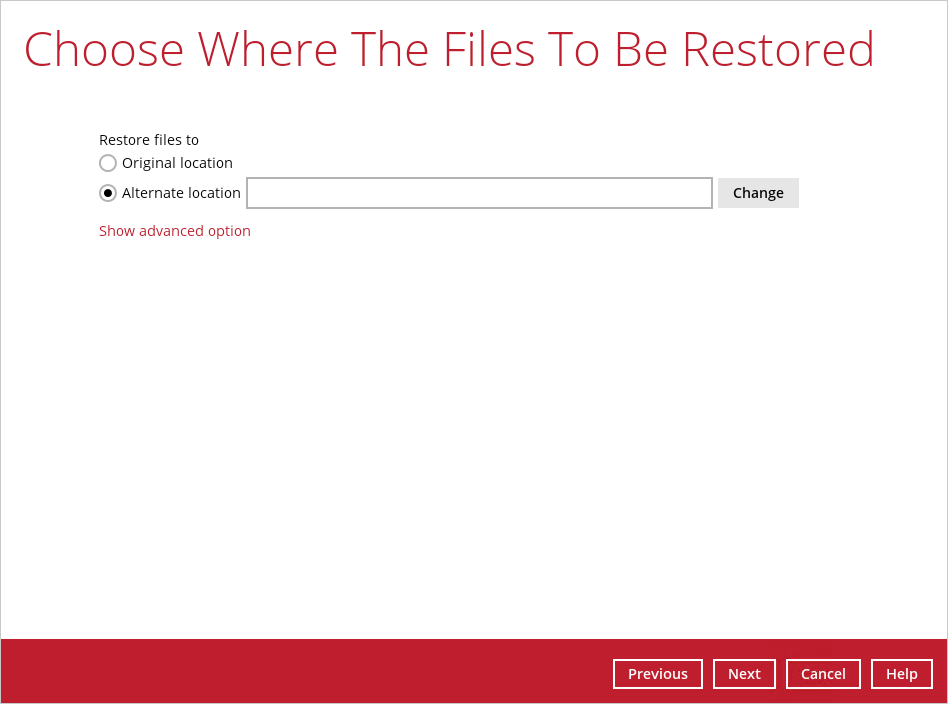
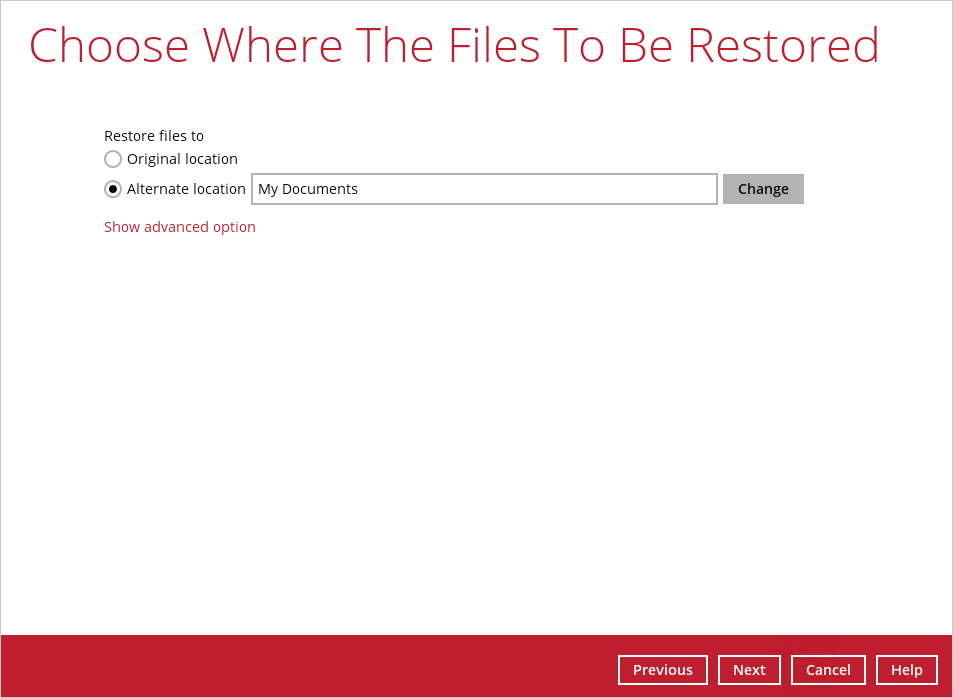
Click Show advanced option to configure other restore settings
- Verify checksum of in-file delta files during restore - By enabling this option, the checksum of in-file delta files will be verified during the restore process. This will check the data for errors during the restore process and create a data summary of the in-file delta files which will be included in the report.
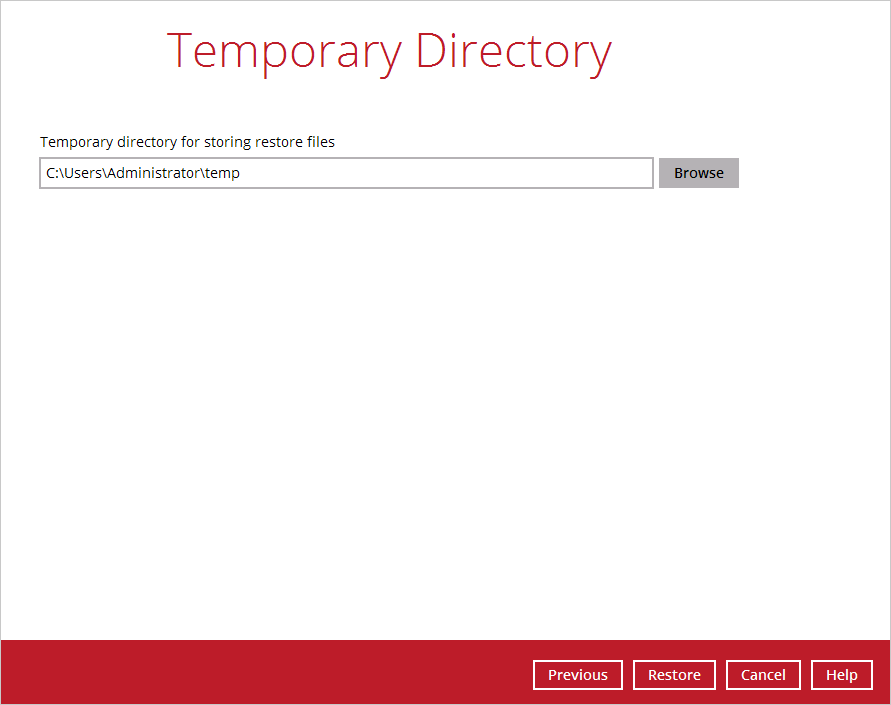
7. Select the temporary directory for storing temporary files.
8. Click Restore to start the restoration.
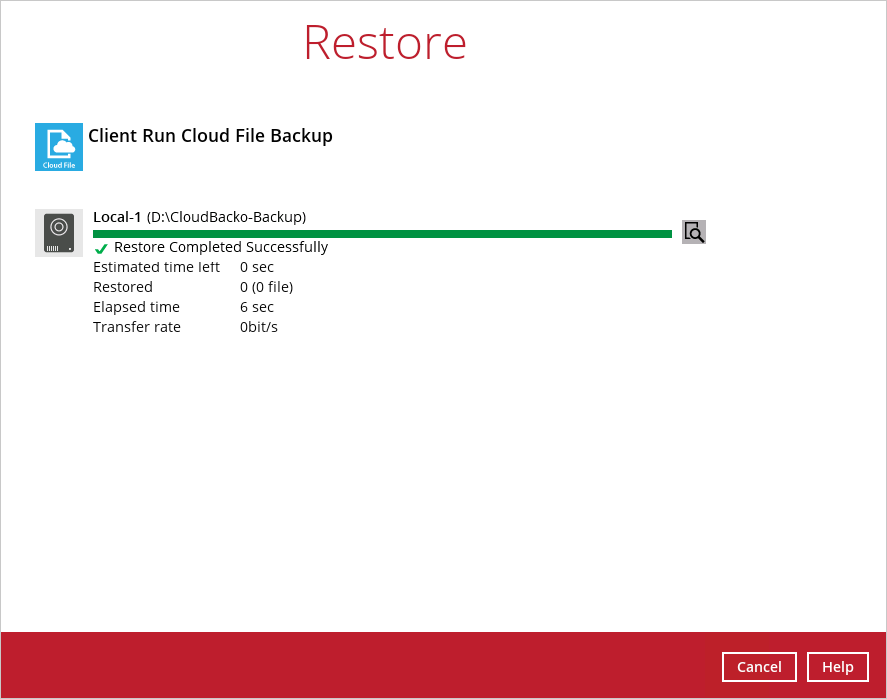
9. The following screen is displayed when the files are restored successfully.
